This week Mom and I are bringing back some of our most popular posts from 2013. This one received a lot of interest because it shows how I brought a rug back from the dead and got a lot more use out of it.
This story finally has a happy ending. A while back I showed you what happened when I tried to paint my kitchen rug (here). I actually didn’t even get to the painting stage because I stopped after applying a quart of primer. Anyway, in case you forgot, below is what the rug looked like when I decided that project wasn’t working, but I didn’t give up!
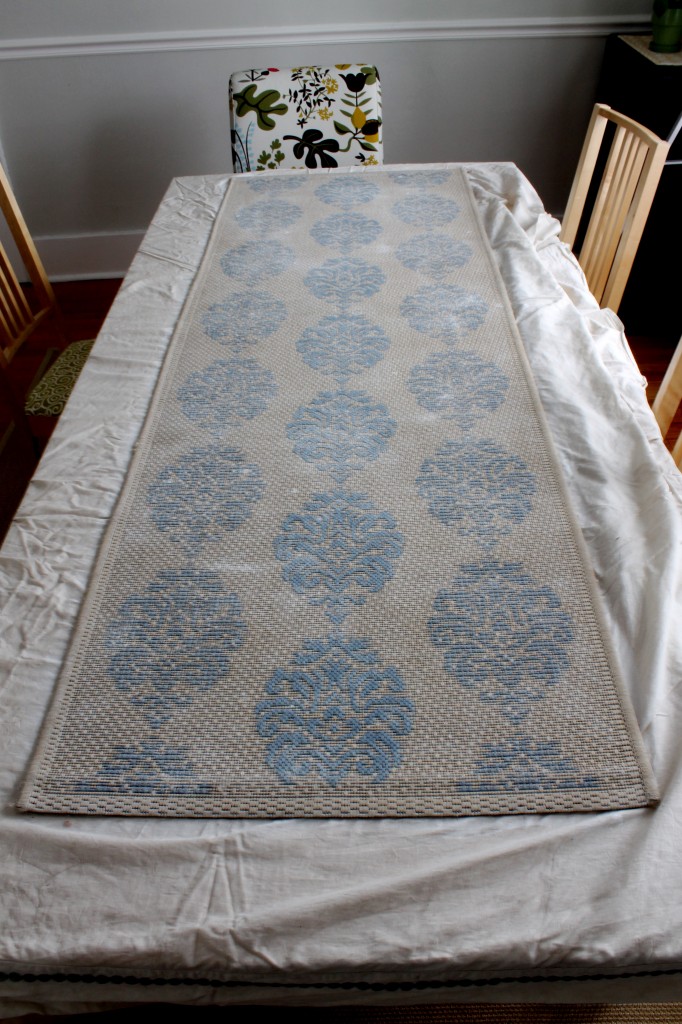
I then came across something on Pinterest from East Coast Creative. They made their own floor cloth by covering a rubber mat from Home Depot. A rubber mat works well because it is sold by the foot, and you can have it cut to your specific requirements. I knew they were on to something and thought it might just work for me. I decided to skip the rubber mat step and just work with the rug that I had already ruined. Thank goodness I didn’t get around to throwing it away yet.
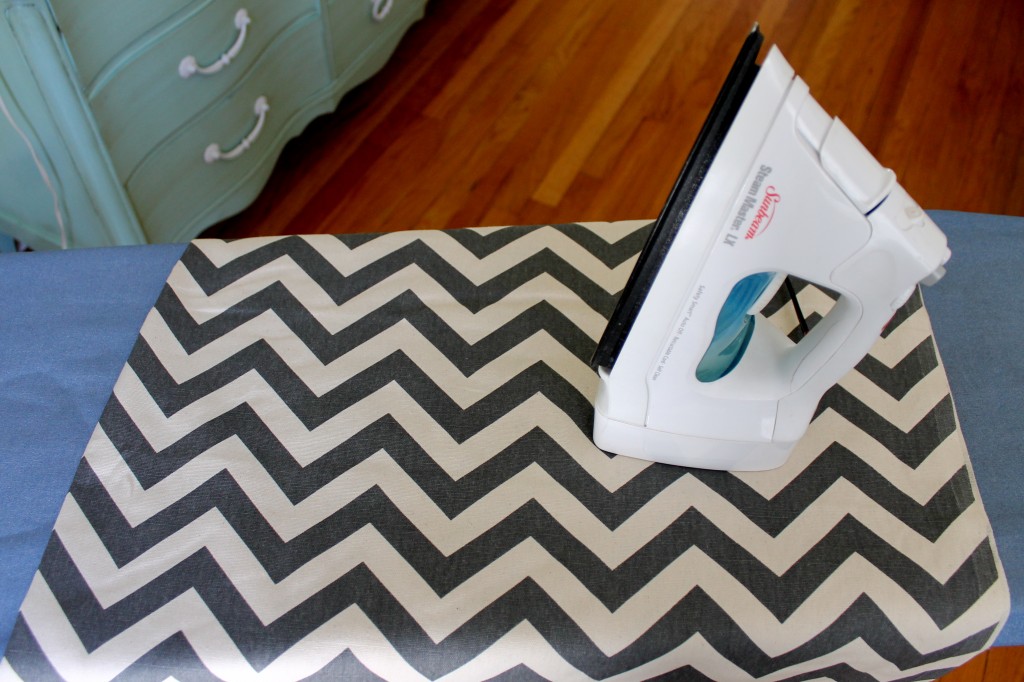
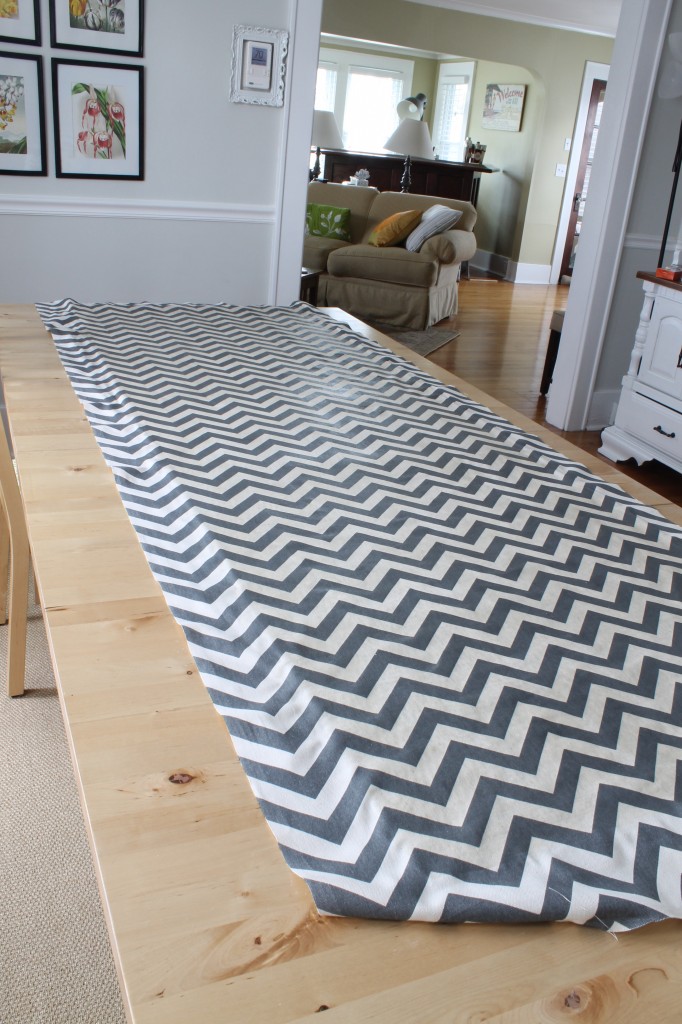
I bought some chevron fabric on sale at Hobby Lobby. I went with chevron because I love the pattern, and I do not have one single chevron thing in my house. Plus, the process is so easy that if I get tired of it, I can do a quick change. First, I ironed the fabric.
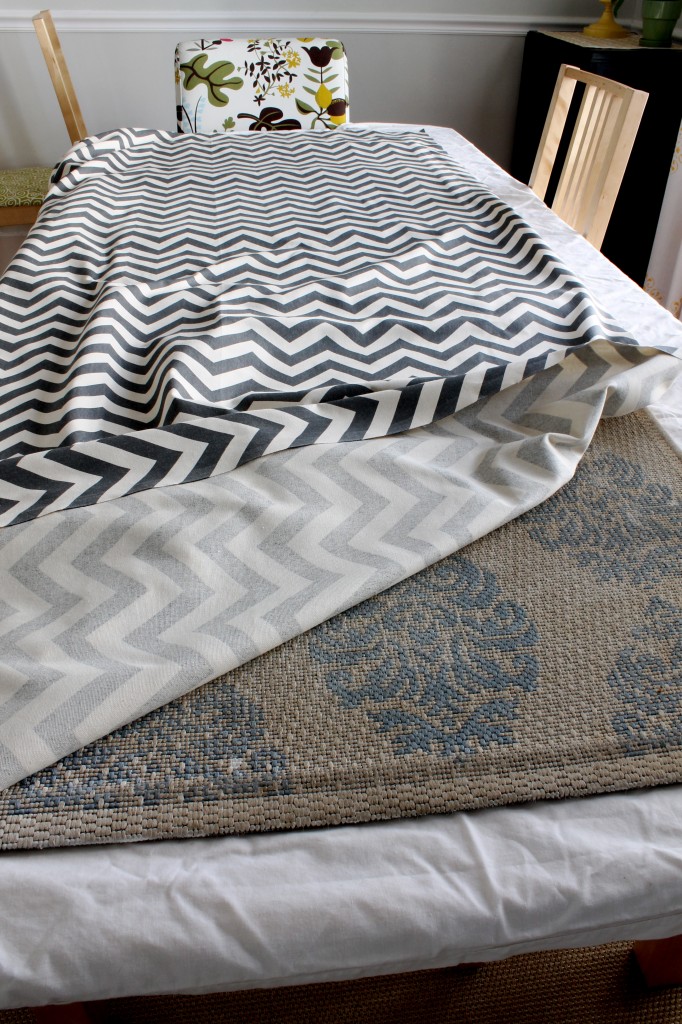
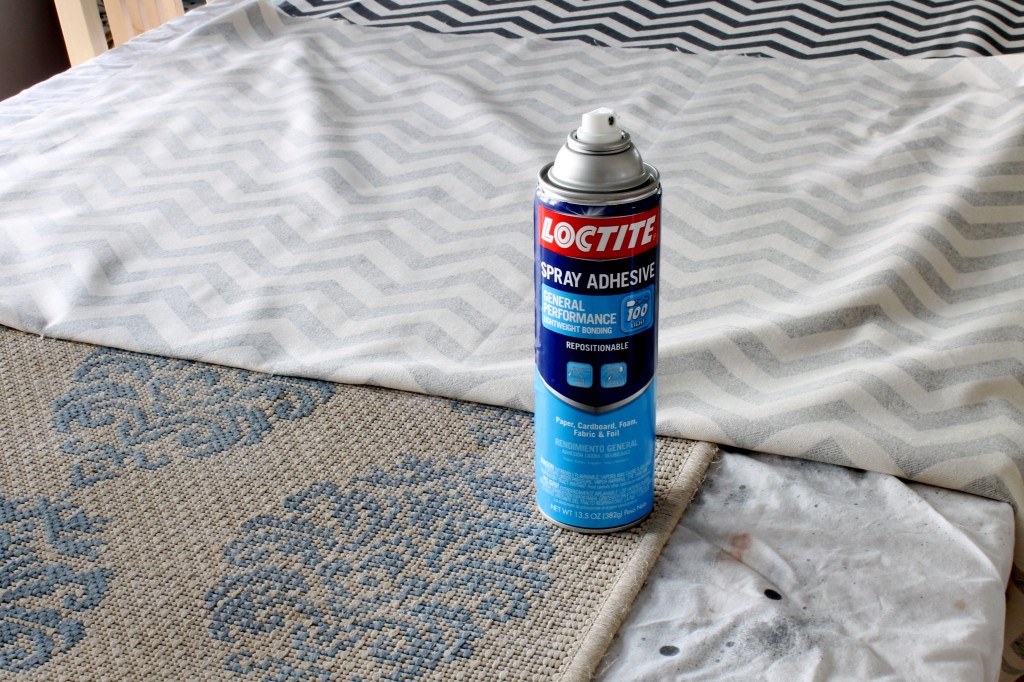
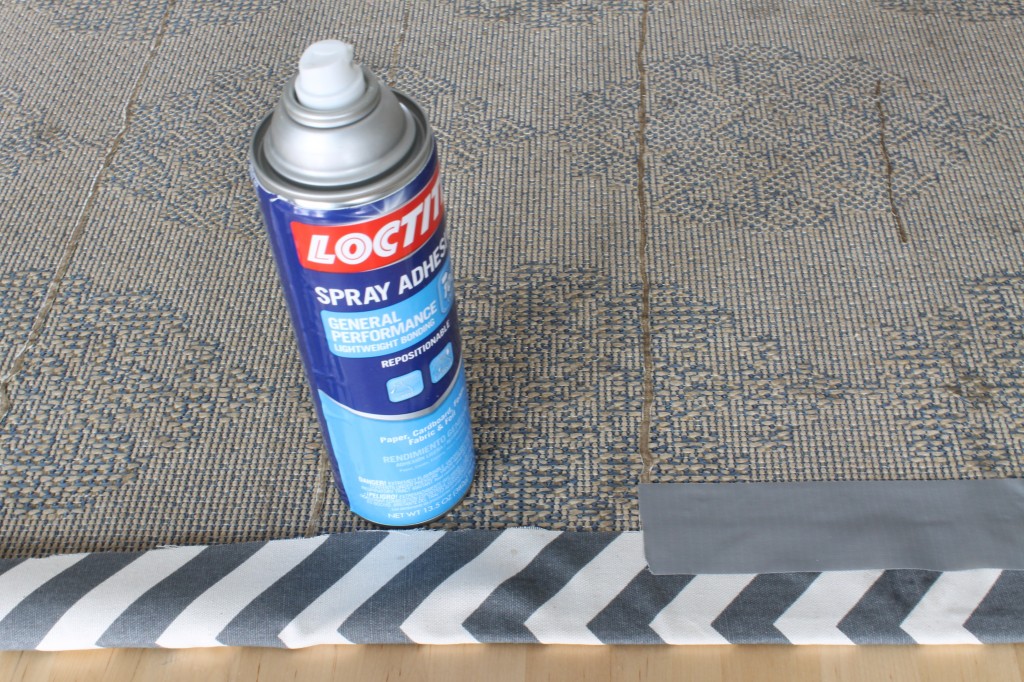
After ironing, I put everything on my dining room table and followed the directions from East Coast Creative. I applied spray adhesive to the rug and smoothed the fabric out on top of it. I think I would leave this step to the end on the next go round.
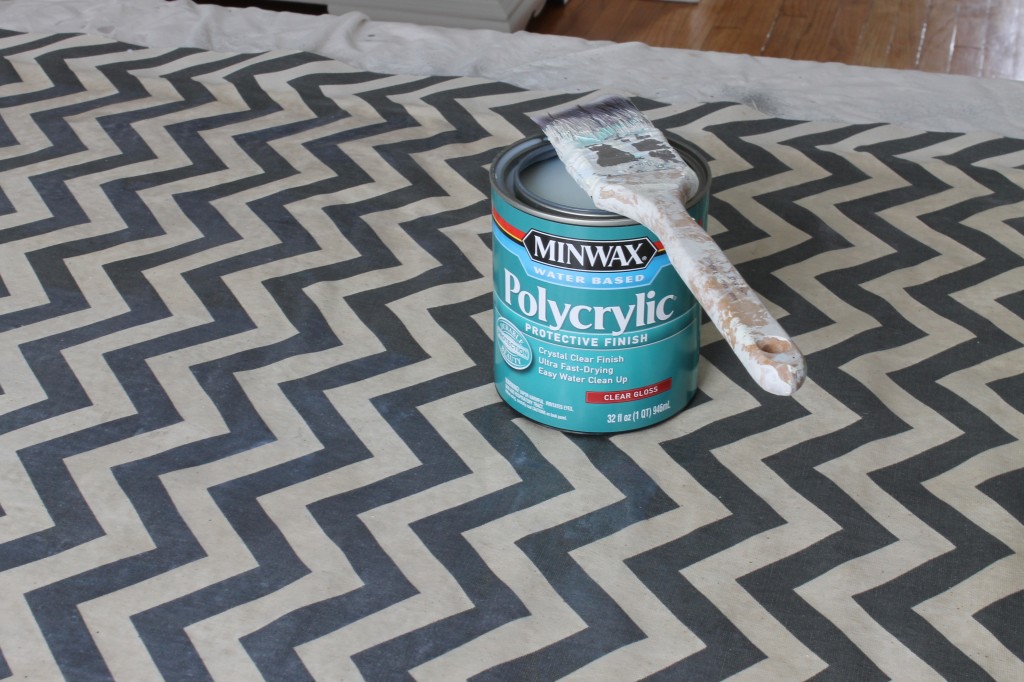
Then came the fun part. I started adding thin layers of polyurethane. It was recommended to use a water based polyurethane so the fabric will not yellow. My fabric started to bubble up and come off of the rug a little at this point. This is why I would do the spray adhesive step at the end. I applied three thin coats and was sure to let it dry completely between coats.
After I did the three coats of poly, I redid the spray adhesive step. I sprayed and then smoothed out the fabric. I started in the middle and worked my way to each side, a section at a time.
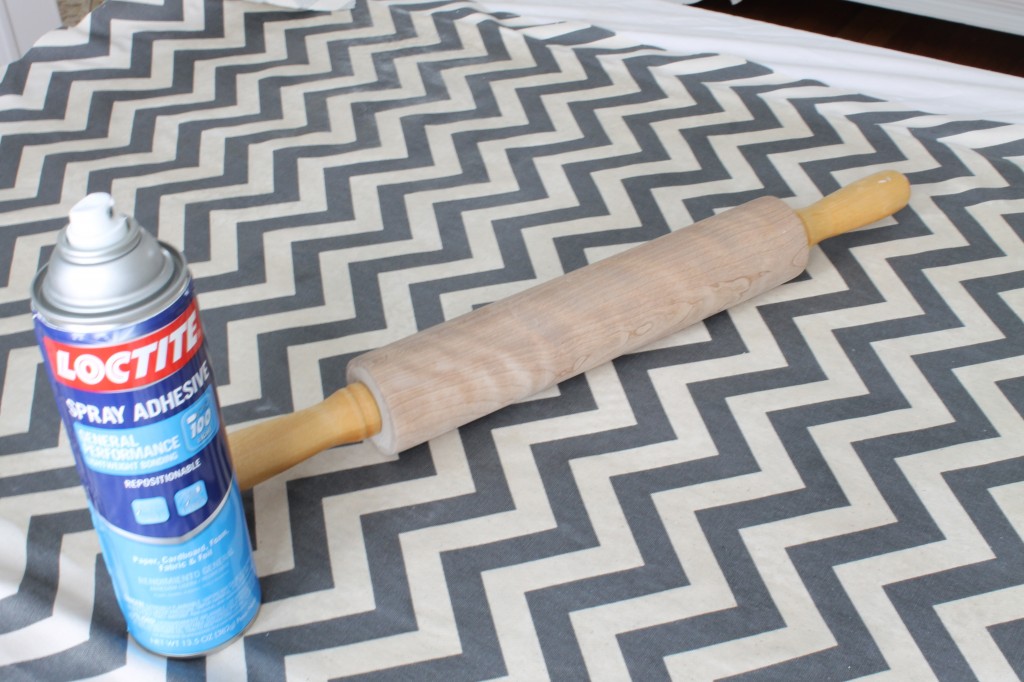
To really make sure I didn’t have any air and make sure the fabric was smooth, I used my pastry roller. This was a great way to really smooth out the fabric. If you do decide to do spray adhesive in the beginning, I recommend using the roller to help smooth out the fabric.
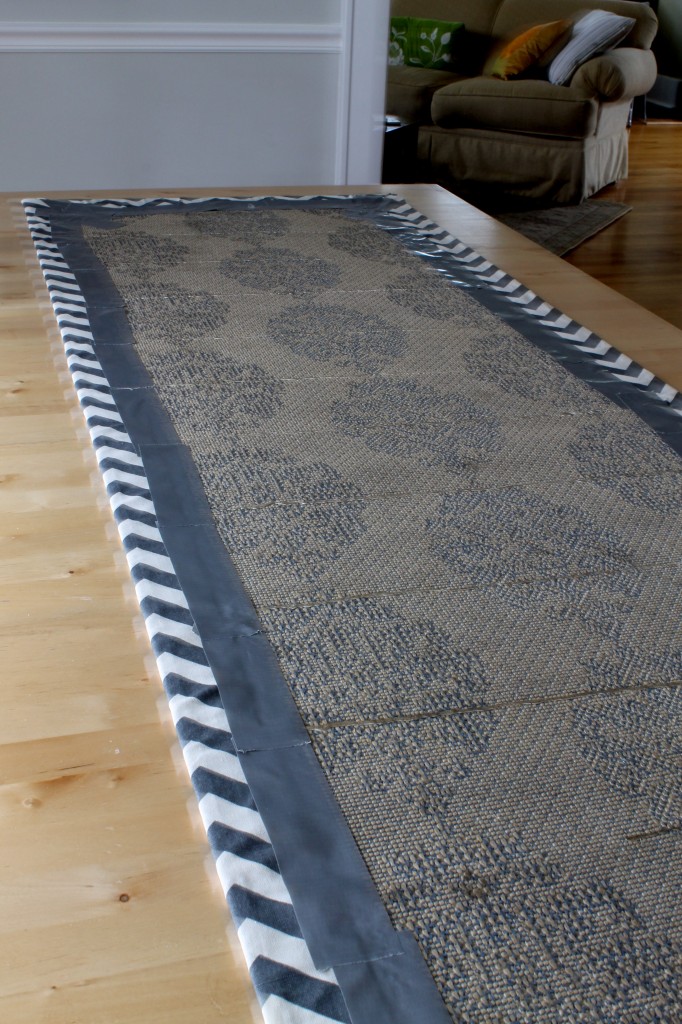
Here it is after the spray adhesive and before I secured the fabric to the back.
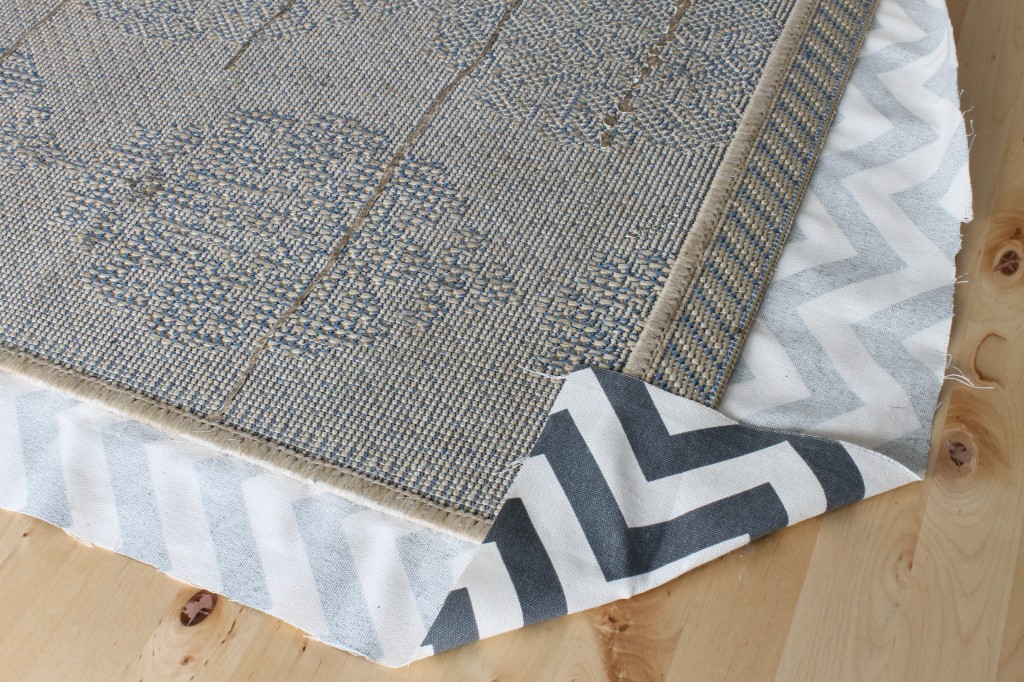
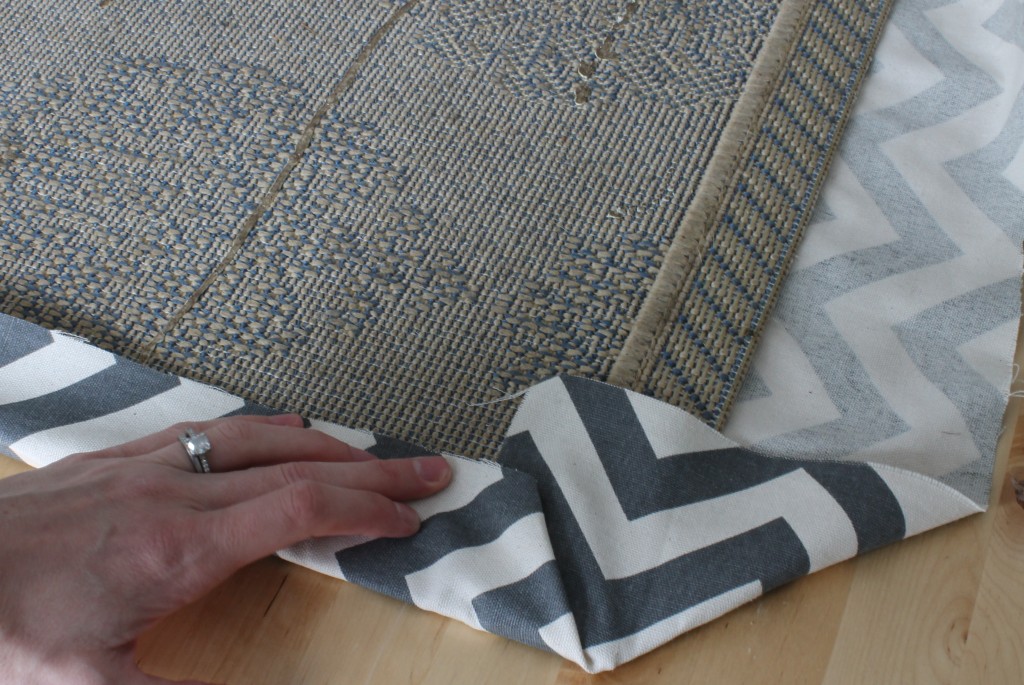
I did the corners first. To do this I sprayed some adhesive and pulled in the corners on the fabric.
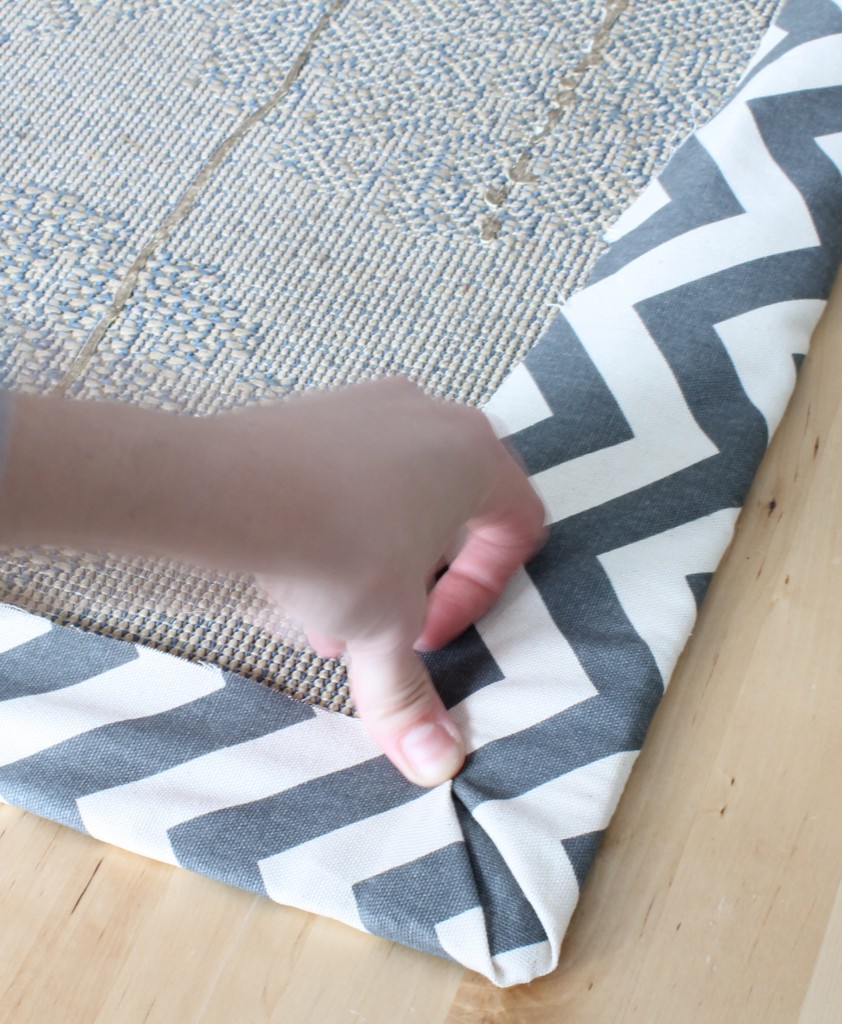
I took my time and folded it as if I were wrapping a gift.
I did the same thing on the other side., making sure to pull the fabric tight. I followed with duct tape to secure it really well.
I pulled back all the sides, used spray adhesive, and then secured them with duct tape.
This shows the back of the rug. This rug always had a tendency to slide some so I will be adding some more caulking to the back to help grip the floor like I did here.
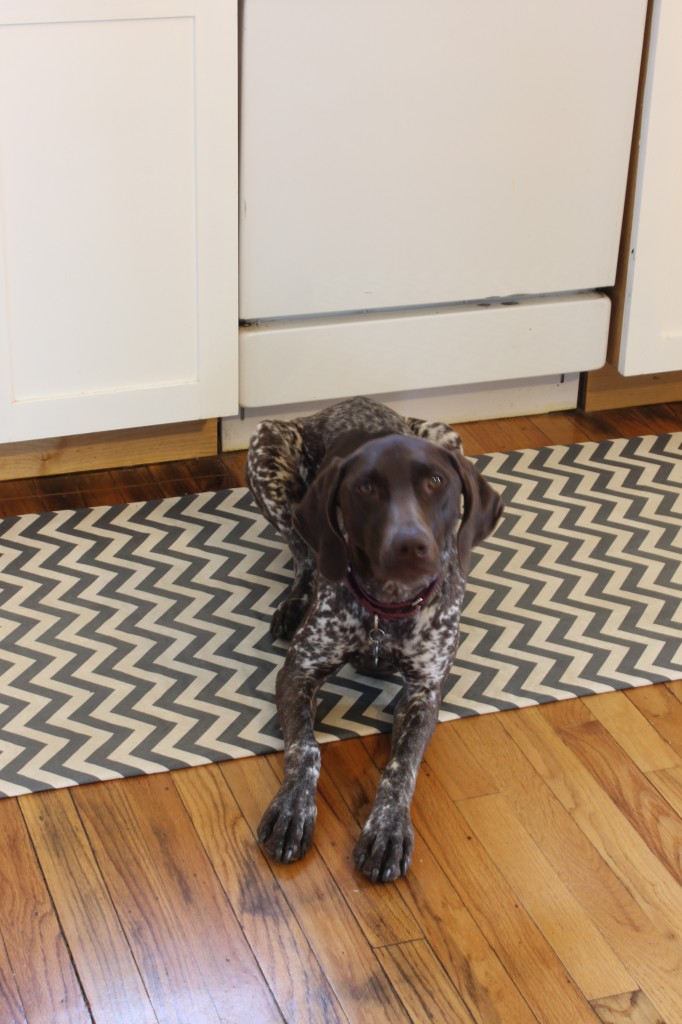
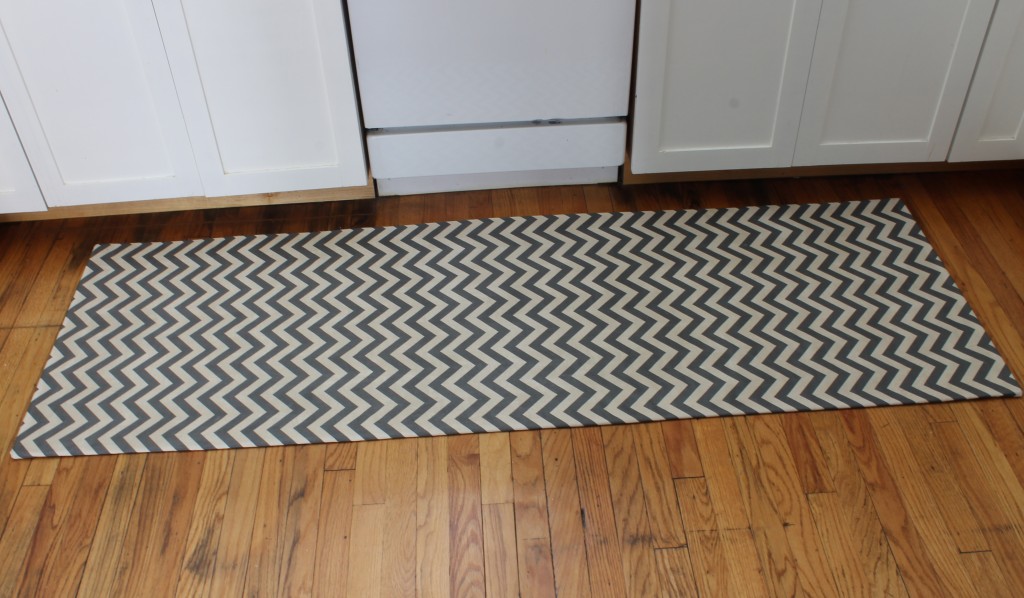
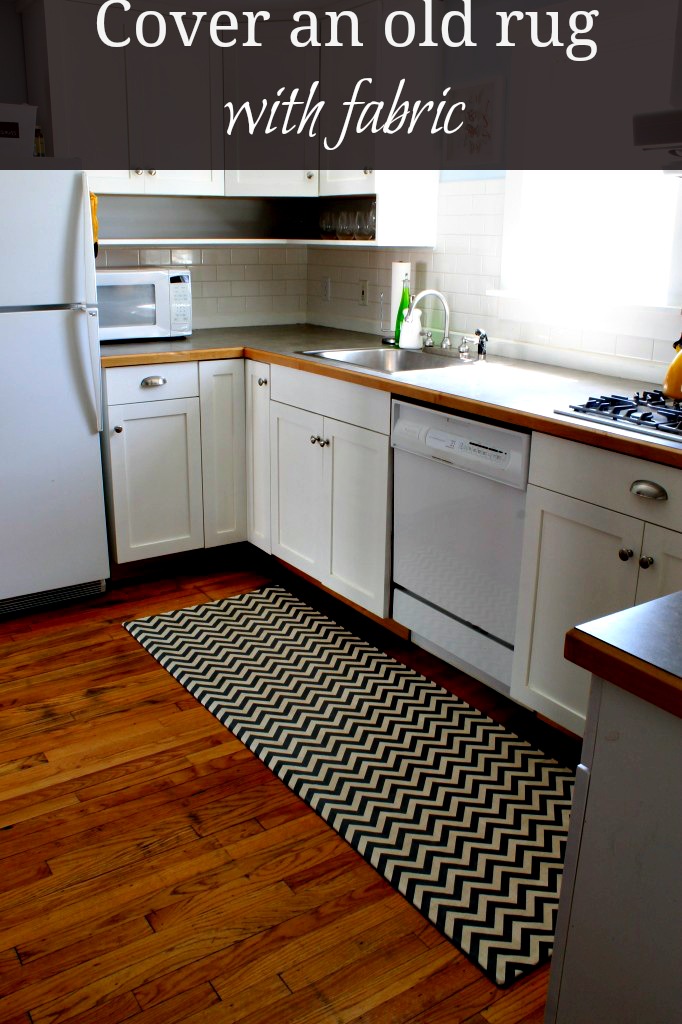
I am thrilled with the results. Since it is in the kitchen, it will get splatters and food dropped on it. I already know that the poly makes it easy to wipe.
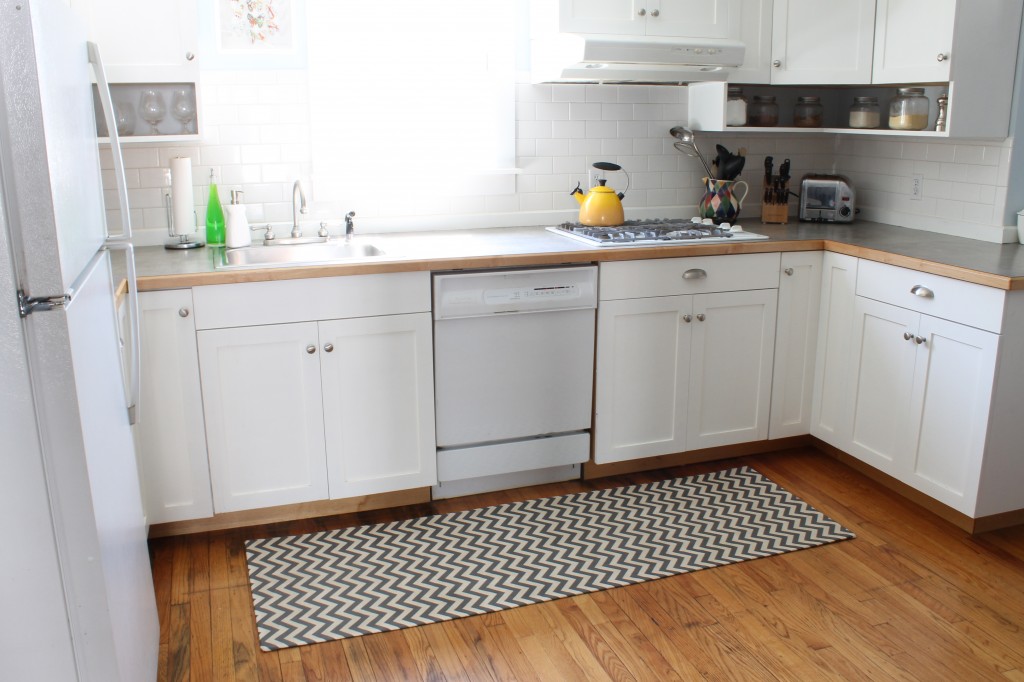
Here is a full room shot. It was actually a bright and sunny day in Syracuse when taking this picture and you can tell our kitchen gets a lot of light.
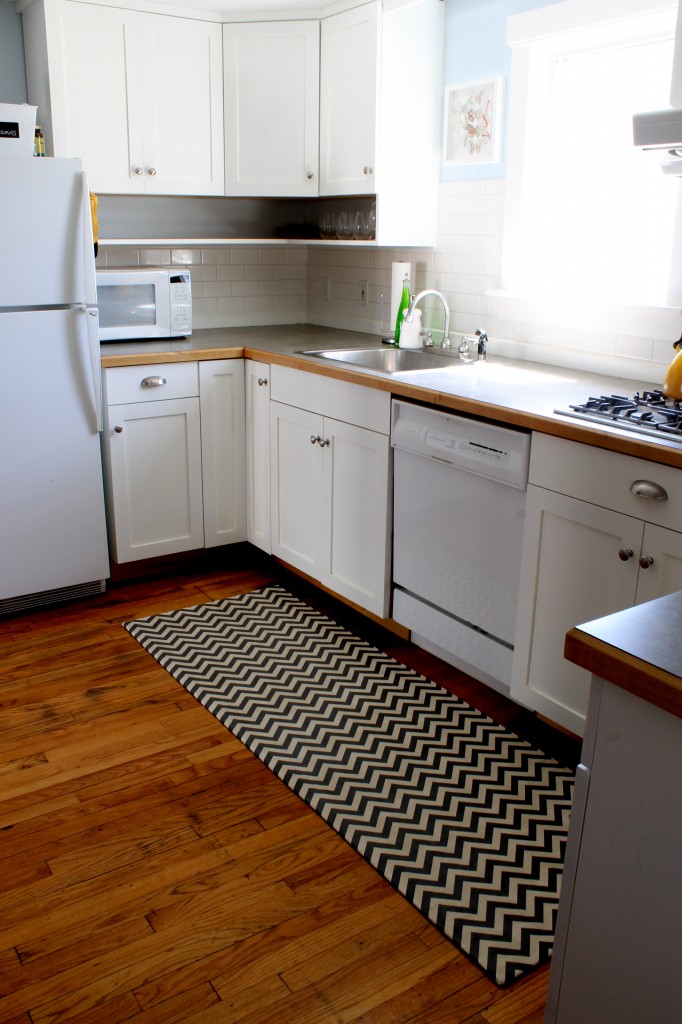
To see some other successful rug projects of mine, go here and here.

Click here to like The 2 Seasons on Facebook.
Cheers!


Wow..that turned out so beautiful…what a fantastic job you did…I want to wish you two a most happy and healthy New Year!