We are slowly working on changing out the appliances in our house, but since it still works just fine, the cook top will be the last appliance to go. I have never been a fan of our cook top because it is so hard to clean. I have even had Grandma, the clean queen, try to work her magic the last time she was here. Grandma was even frustrated with the impossible task of cleaning the top. I have tried many of the tips and tricks from Pinterest, and nothing has really worked. So, I decided to take matters into my own hands and build a cover that would both cover the top and provide more counter space for me.
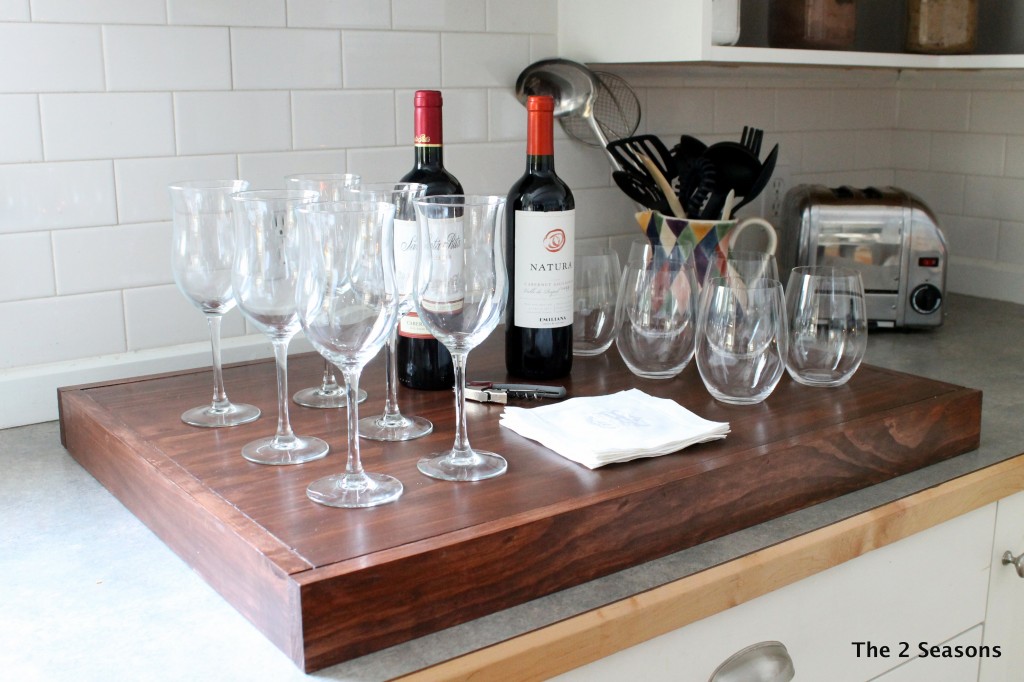
The cover is not only the perfect solution, but it also provides extra counter space. For instance, when we entertain, it becomes a great bar area. Our guests, like everyone else’s, always end up in the kitchen anyway, so, why not put the bar there???
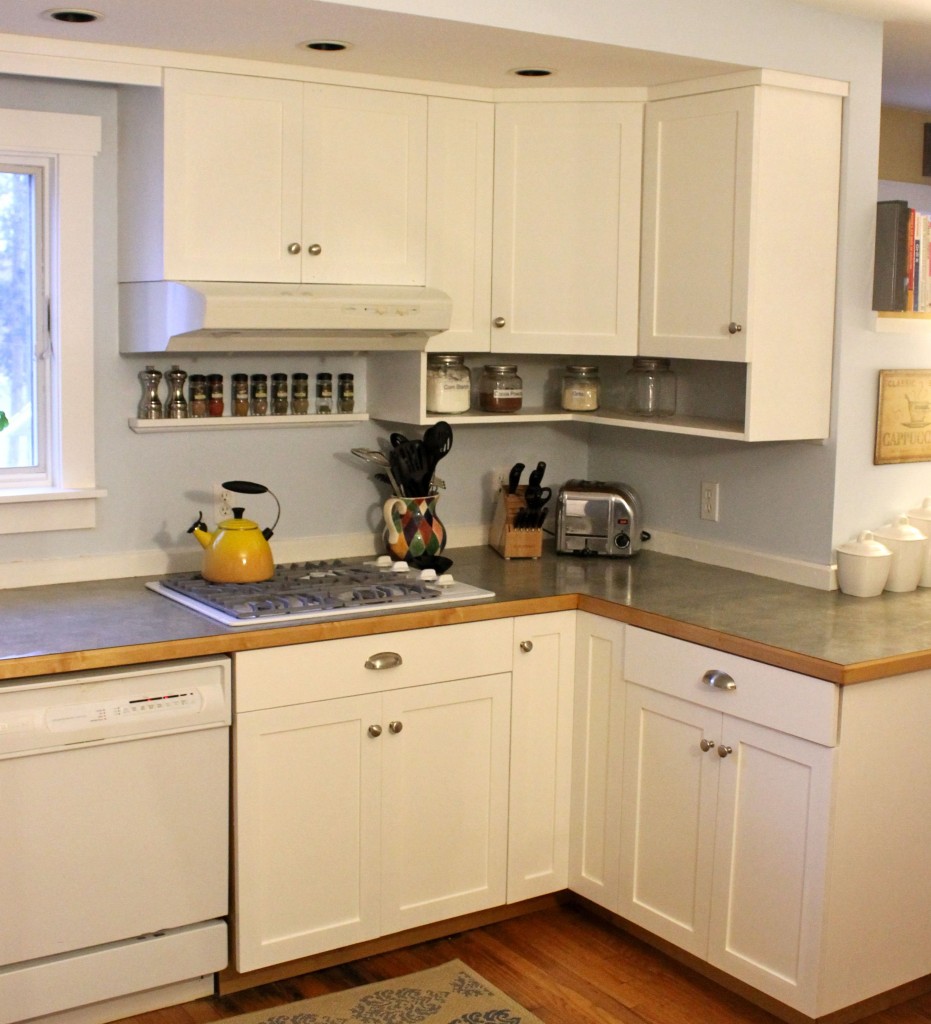
The new cover is easy to remove when it’s time to cook a meal. Now I only have to look at the cook top when I am actually using it. My friend Amanda hired someone to make a top for her, but I decided it was probably a project that I could easily DIY with my husband’s woodworking tools.
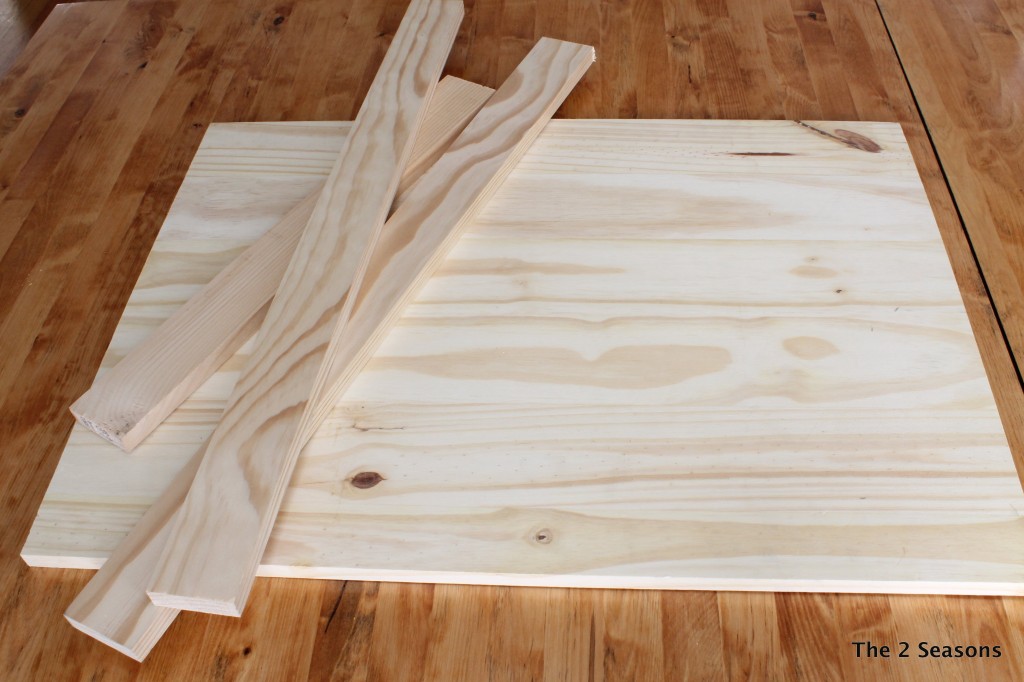
The first thing I did was measure the cook top. I then went to the Home Depot and picked out some pine for the project. I had them cut the top and sides to the size I needed. It is so nice that they will make the cuts for you. This step saves a lot of time.
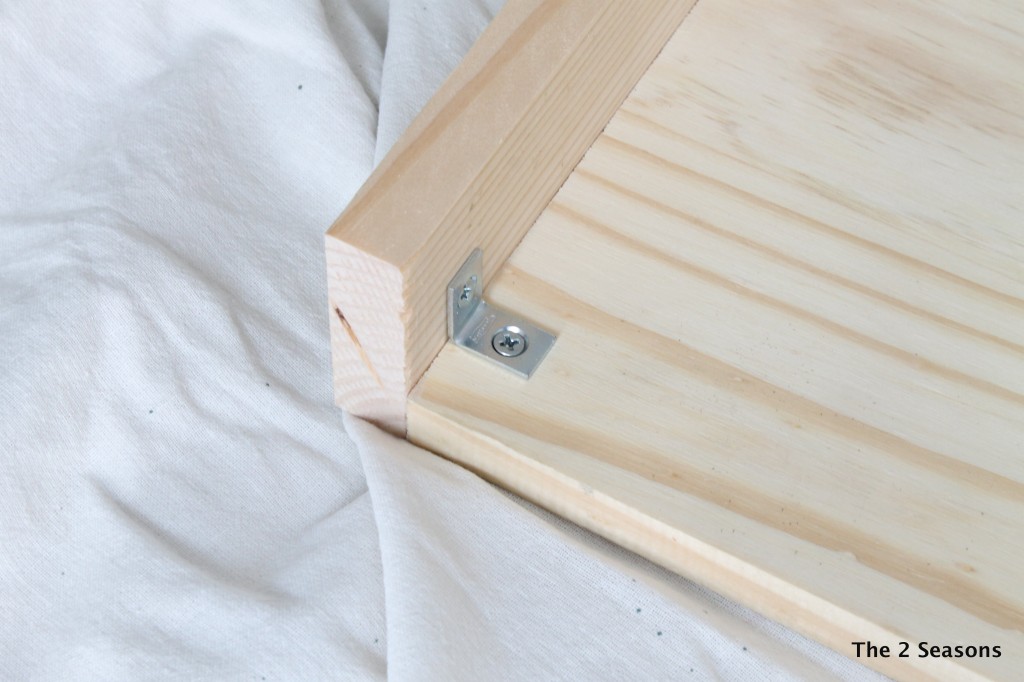
I bought these little L brackets to aid in attaching the sides. I did this at each corner. After this step for all four corners, I added the top section.
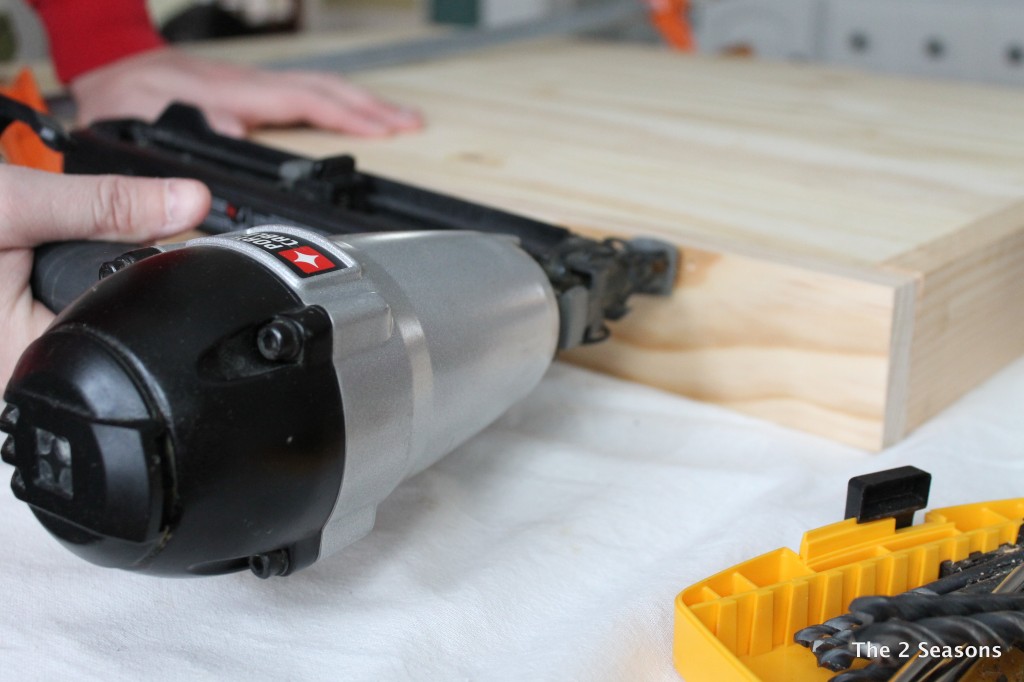
I decided to go back and reinforce the sides a tad more. Yankee used our nail gun to add some more nails. You could do this the old fashion way with a hammer, but be careful so you won’t dent the wood.
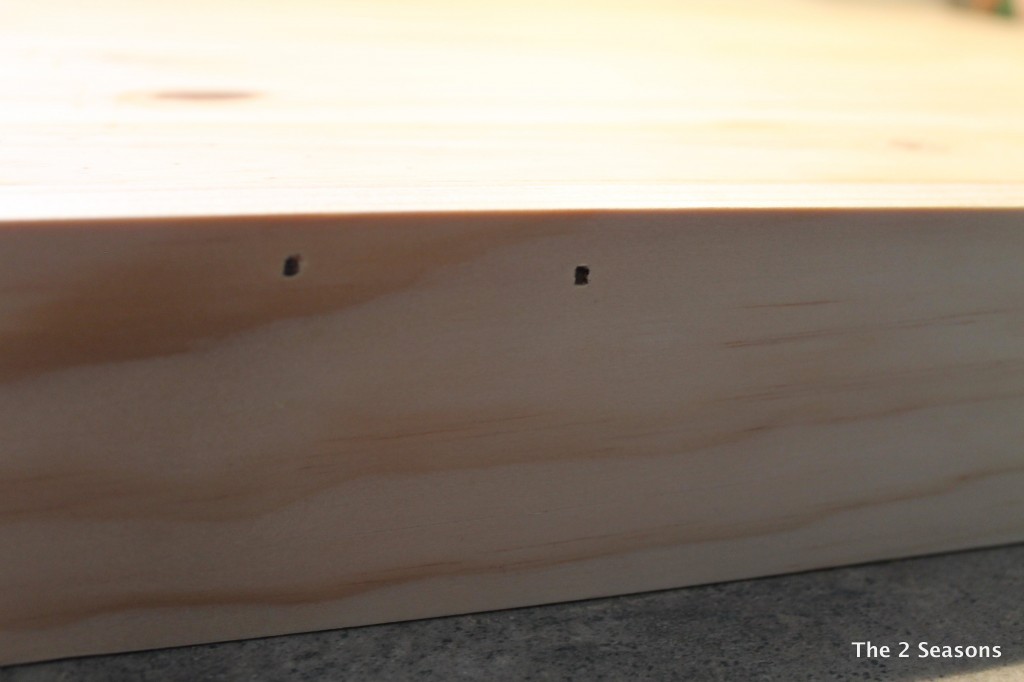
There were some tiny holes, but I took some wood filler and filled them so they wouldn’t be obvious. I sanded them before the staining process.
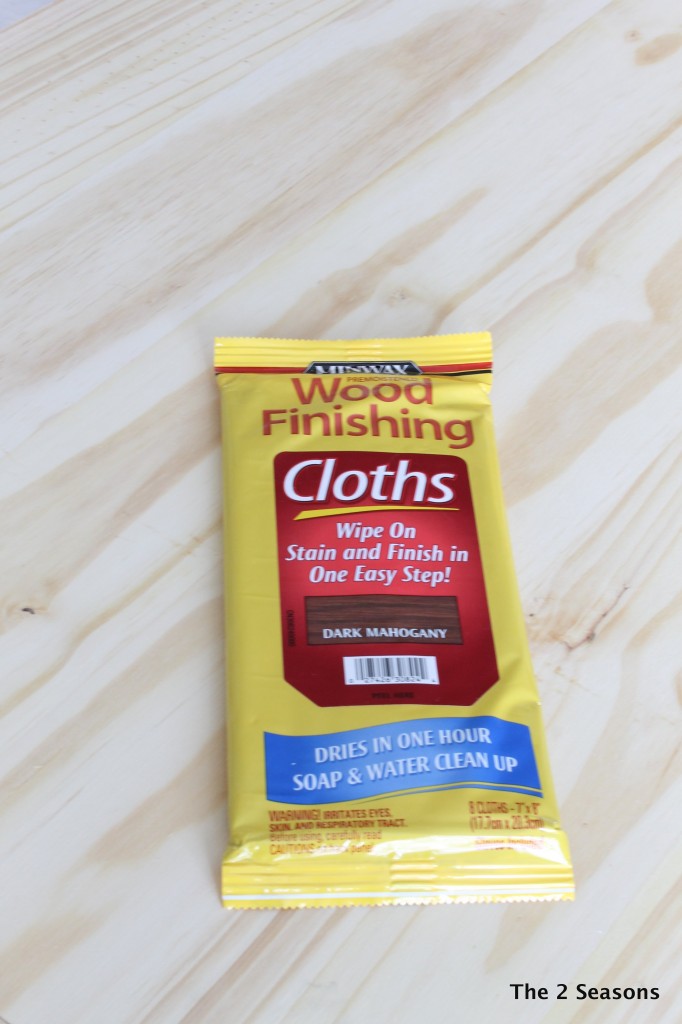
We received these stain cloths at Haven, and I hadn’t used mine yet. This was the perfect project for them.
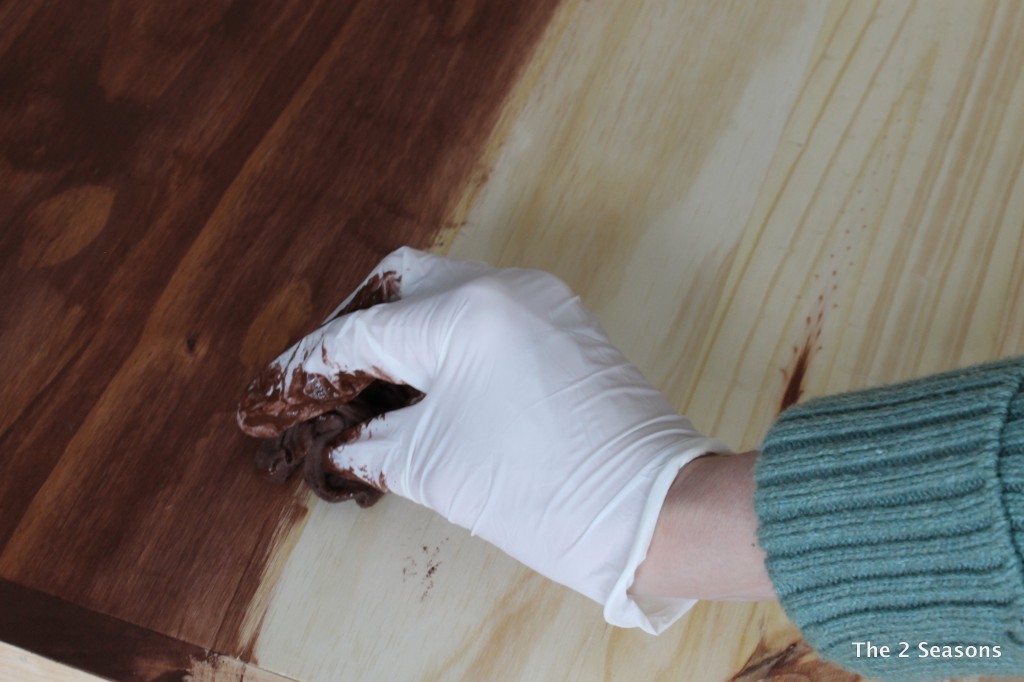
Using these cloths for a small project was amazing, so quick and easy. I highly recommend them.
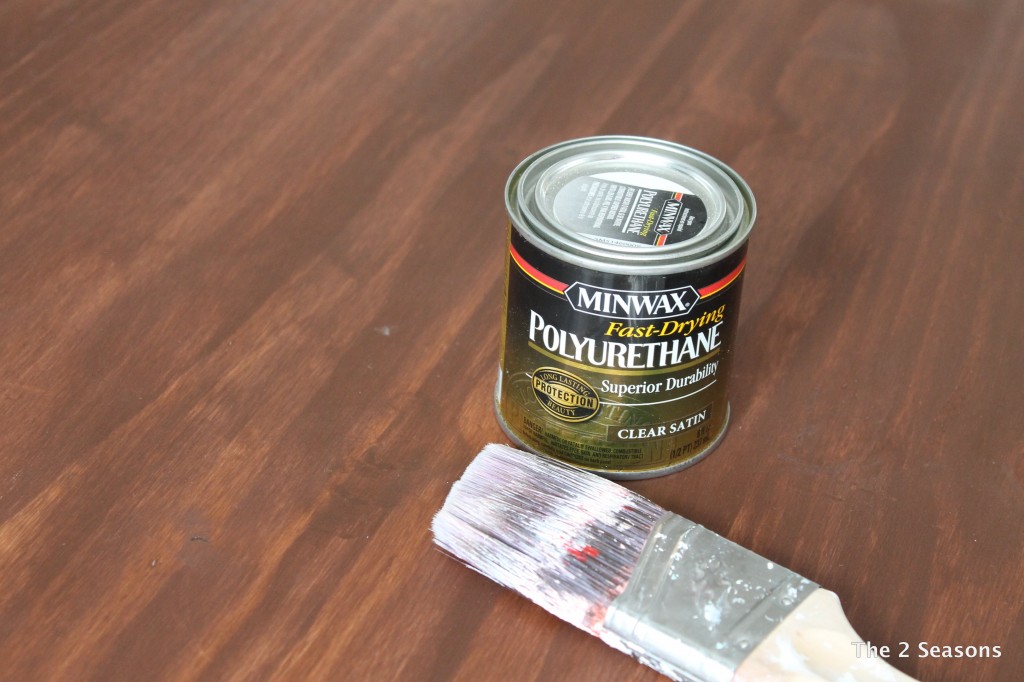
The next step was to protect the stove cover in case water or anything else gets on it. This polyurethane did the trick. I did a couple of applications, and it not only protects but it also gives a nice feel to the cover. Be sure to sand between rounds.
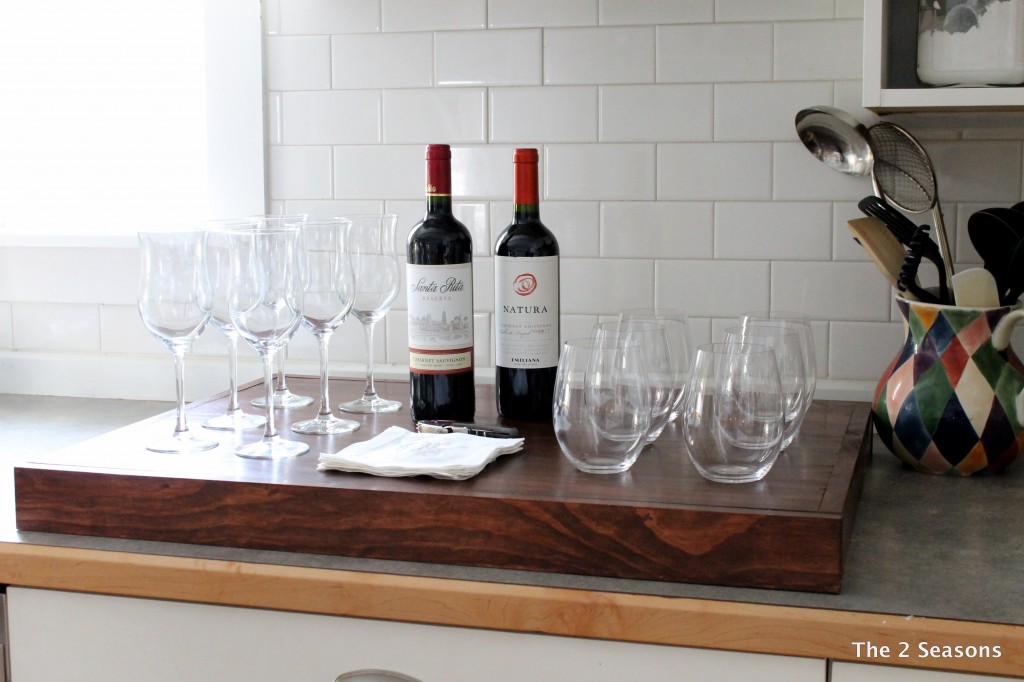
When it’s not being used as a bar, the new cover looks nice just on its own. I am so happy with this easy solution to an ugly cook top in our kitchen.
Cheers!
Linking to Savvy Southern Style.
Affiliate links included in post.


Grreat job and perfect solution! I know what you mean about cooktops, we have a black one and I would never recommend black for appliance color….everything shows and so hard to keep it clean and scratch free. Love this solution!!
Thanks, Taylor. It was my first attempt at building something. Now I might try a more challenging project!!!
Clever idea! Looks and works great! 😉
Isn’t this the best idea? I had one made by a student since he needed a project for woodshop and I had seen something similar on Giada’s Everyday Italian TV series. I love mine, and use it a lot and it is really showing the wear. He just oiled it instead of using stain and Polyurethane – it really needs a makeover. Those stain cloths look so neat! I’m going to give them a try.
Cyndi, since I used the poly instead of oil, I cannot use it as a cutting board. You were smart to have your student oil the one he made for you. My mom had a student make a bench for her once because he needed a project for his shop class. She still uses it.
Just love that…a great and beautiful solution for adding some counter space and protecting your stove!!
Wow what a great idea and it turned out looking beautiful!