The 2 Seasons

A mother/daughter duo, residing in two different parts of the country, team up to write a lively blog about their homes, decorating, food, fun, and their world-wide travels.

  • About Us
  • Travel
  • Projects
  • Recipes Index
    • Appetizers and Snacks
    • Sides and Salads
    • Mains
    • Desserts
    • Beverages
  • Adoption

Indoor Composting 101

By Jordan | Projects

Author:  Spring

Mr. Spring and I have casually discussed starting a compost pile once the weather turns nicer outside.  It has been so snowy and cold here that we assumed that we wouldn’t be able to start this project for a few more weeks.

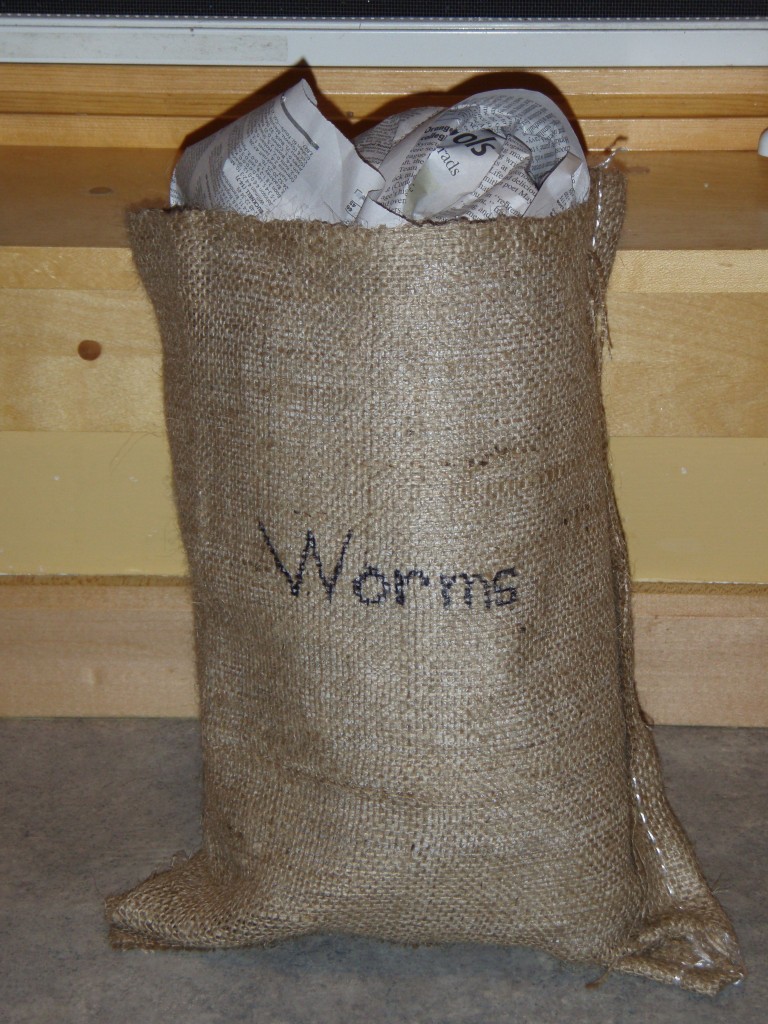
However, we went to a garden show to do some research for an upcoming backyard landscaping project.  And while there, we learned  about indoor composting with red wiggler worms.    So, we left the garden show with some information on landscaping and something we hadn’t planned:  one pound of red wiggler worms.

I know it sounds a little gross to have a compost pile in the house, but if you do it right, it doesn’t smell or take up much room. Plus, it’s easy because now we do not have to throw leftover veggies, coffee, tea bags, egg shells, etc. into the trash or in the disposal.

Compost 768x1024 - Indoor Composting 101

Once we had the worms, we needed to get the rest of the supplies to build the composter.  We stopped by the store and bought a bin and some screen covering, which turned out to be all of the items we needed to purchase.

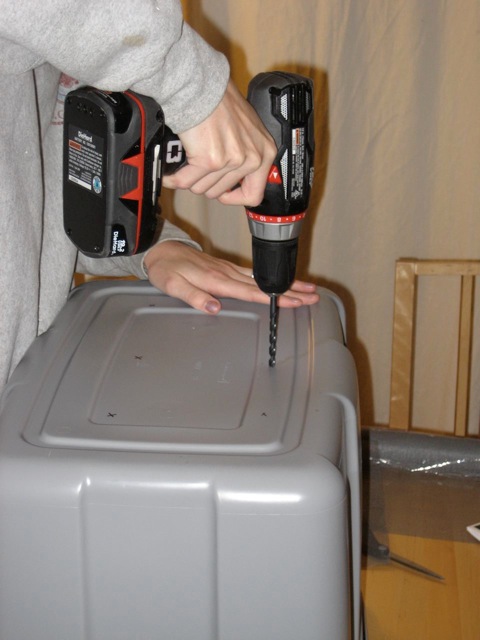
The first thing I did was to drill six holes into the bottom of the bin.

Compost drilling holes - Indoor Composting 101

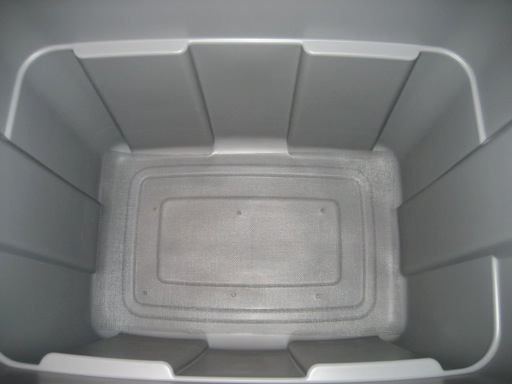
After drilling the holes, I cut out some screen fabric and placed it in the bottom just  to keep the worms from  getting out.  I also put the bin on a lid to collect any water that might seep out from the moist mixture.

Compost screen - Indoor Composting 101

It is hard to see, but the screen is in the bottom of the bin.

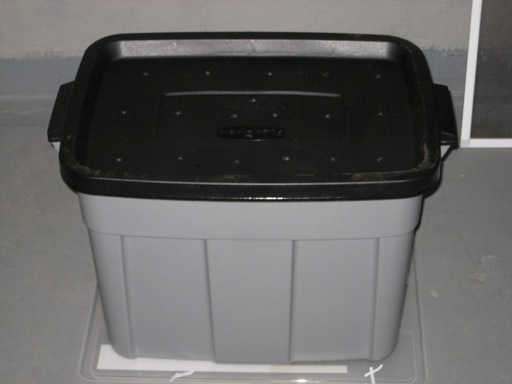
Composttop 1024x768 - Indoor Composting 101

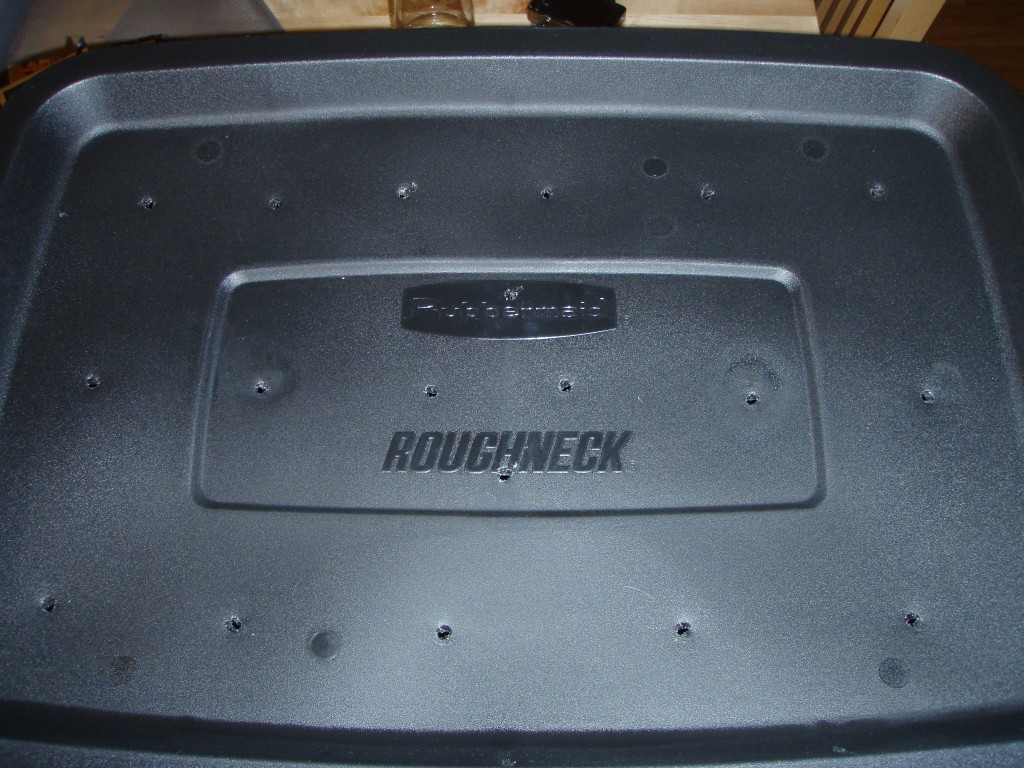
The worms need to get air ,so, I drilled holes in the lid.

Compost shredded paper  - Indoor Composting 101

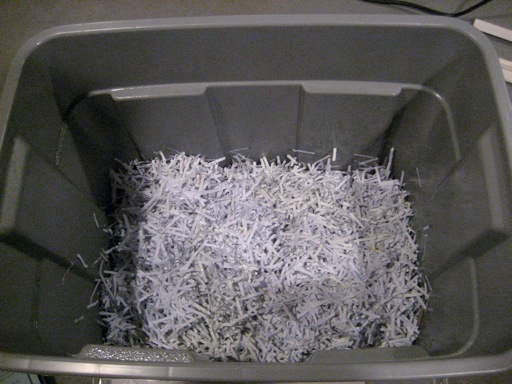
Once I the drilled the holes in the bin, the composter was ready for the worms to have a new home.  The first step was to put some bedding into the bin.  I used shredded paper.  We were told that shredded paper, and cardboard, work best.

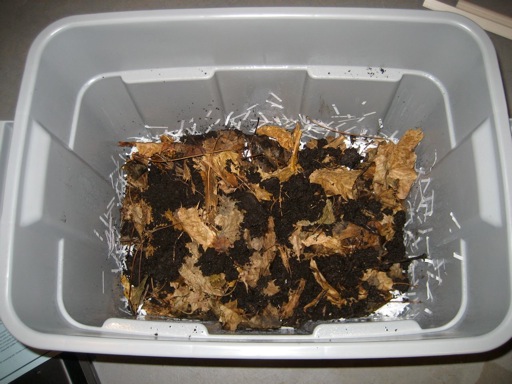
Compost leaves and dirt - Indoor Composting 101

The next layer was some dirt and leaves that we gathered from our yard.  After that layer, I put the worms in the bin,  put some food in the corner, and covered it with dirt.  We then placed the bin under a light to get the worms adjusted to their new environment.  We thought this was pretty funny, but it was recommend to us by the “worm vendor”.  The directions indicated we needed to do this for a couple days.  After they had one day of light, we thought it was fine to put the lid on the bin and then move it to our quiet and dark basement.

We had some guests  that evening who wanted to see our latest project.  We took them downstairs, and when we opened the lid, the worms were everywhere.   So, we put the bin back under a lamp to get them to go back down into the dirt.

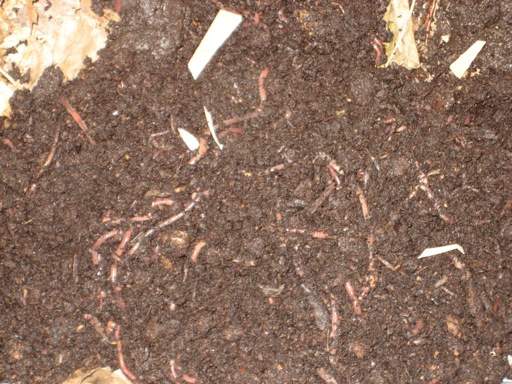
Compost worms - Indoor Composting 101

Here are the worms before they went to the bottom of their bin.

Compost finished - Indoor Composting 101

Here is the “worm condo” sitting in our basement where they are happily working away to make compost for our summer garden.

By the way, if you cannot buy these worms where you live, they are available online.

Cheers!


Related posts:

default - Indoor Composting 101How to Make a Simple Compost Bin default - Indoor Composting 101Square Foot Gardening After island blog 120x120 - Indoor Composting 101DIY Marble Top Kitchen Island IMG 8206 - Indoor Composting 101The Best Garden Hose

Share This:

Comments

  1. French Kissed says

    March 30, 2011 at 1:06 am

    Wow, you must be thrilled! So perfect for your bicycling family and it will be such a conversation piece. I adore the painting your mother did as well…quite an art collection you have got going.

    ~jermaine

  2. Kim says

    March 30, 2011 at 3:45 pm

    We do this, too! I love that we don’t put all the food scraps to waste. My only tip is that if you can, it helps to put the scraps in a little bin in the freezer. Helps to kill any fruit flies. That’s the only thing that we’ve found can go bad. Good luck!

    • Spring says

      March 30, 2011 at 3:50 pm

      Kim,

      Thanks for the tip we will start to do this. Can’t wait to get some good compost!

  3. Jenny says

    June 30, 2011 at 10:45 am

    You can also do this with old kitty litter pails or 5 gallon pails. I stack two together, rather than having a collection pan at the bottom to gather any excess liquid. I have worms at home and in my 1st-3rd grade classroom. (But those worms are all now home with me for summer vacation.) The worms can be split, too, as they quickly multiply. So share some with your friends!

Jordan and Janette

HOUSE TOURS

ADVERTISE

CONTACT

Subscribe to our Blog

Where We Shop

  • Amazon
  • Baggallini
  • Etsy
  • Lands' End
  • Nordstrom
  • Wayfair

Search

Favorites

  • Finished no words 275x275 - Indoor Composting 101 How to Turn Bi-fold Doors into French Doors
  • DIY Cook Top DIY Stove Cover
  • How to add storage to your kitchen cabinets - The 2 Seasons How to Add More Storage in the Kitchen
  • Transparent pie - The 2 Seasons Recipe for George Clooney’s Favorite Pie

Categories

Archives

It’s time to pull out the patriotic pillows for It’s time to pull out the patriotic pillows for my second favorite holiday. Bring on the #redwhiteandblue #pillow #july4th #homedecor #familyroom #mybhg
A lucky yard is getting a truck full of #hydrangea A lucky yard is getting a truck full of #hydrangeas #flowers #gardening #landscape #landscaping
Ready for guests, and we just can’t wait!!! #gue Ready for guests, and we just can’t wait!!!
#guestroom #entertaining #frenchcountry #blueandwhite #traditionalhome #thecollectedlook #embroidery #bhg #mysouthernliving #blueandwhitedecor #mycollectedlook
✨Welcome to Week 72 of Beautiful Decor Home Tour ✨Welcome to Week 72 of Beautiful Decor Home Tour!

Come join us to meet new friends & discover beautiful decor. You will  be inspired !
.
.
PARTICIPATING IS EASY! .
. ✨1. Follow All Hosts and Guest Hosts

@oliviapitts1014 
@southernspangled
@coloradohousetohome
@thevidalnest
@vanfleetfamfarmhouse

Guest host ~ 
@vintagejoycemarie 
@j.m.g.designs 
@our.sweet.abode
@bloom_jennybrooks 
@highlandlace .
.
.
✨2. Follow the hashtag #BeautifulDecorStyles
✨3. Follow all accounts posted under the hashtag you enjoy & find inspiring
✨4. DM a permanent host to join the Tour & start making new friends
.
Beautiful Decor Tour runs weekly ~ Monday, 8 pm EST - Wednesday, 8 pm EST.

#beautifuldecorstyles72v .
These two kids are celebrating 74 years of marriag These two kids are celebrating 74 years of marriage today. Happy Anniversary to our parents and grandparents. #loveislove #happyanniversary
One of my favorite things about having a courtyard One of my favorite things about having a courtyard garden is picking flowers and herbs and bringing them inside. Flowers always brighten up a room. #gardening #flowers #flowersofinstagram #bouquet #bouquetofflowers #homedecor #frenchcountrystyle #bdsdaily3
Same table cloth with two different July 4th looks Same table cloth with two different July 4th looks. Which one do you like?  #tablescape #tablescapes #holidaytable #july4th #redwhiteandblue #cottagestyle #traditionalhome #colorful
Travel gives me the opportunity to find interestin Travel gives me the opportunity to find interesting art at affordable prices. These two ladies came from Cuba. I found them in the corner at a large art venue. I couldn’t love them more. #art #travel #cuba #homedecor #bathroomdecor #mybhg #cottagecore #traditionalhome
This error message is only visible to WordPress admins

Error: API requests are being delayed for this account. New posts will not be retrieved.

Log in as an administrator and view the Instagram Feed settings page for more details.

All Content © 2025 · The 2 Seasons

Designed + Created by Jelly Design Studio

Advertise | Privacy Policy