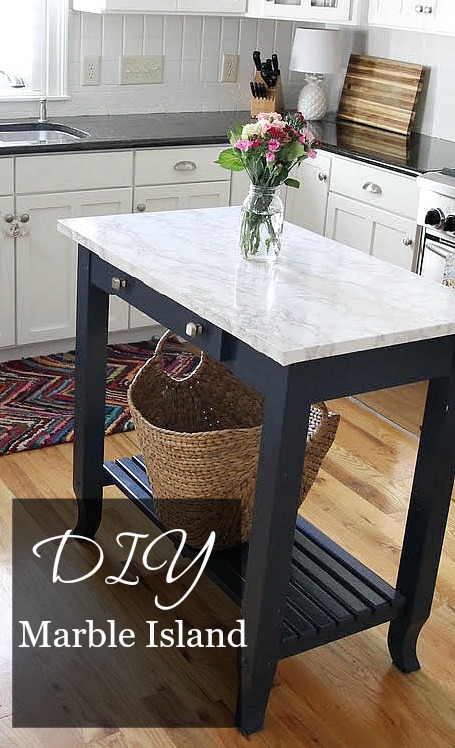
Kitchen island fever has been around for many years now, and I might have it. Some islands are quite large and take up a big percentage of the floor space in some kitchens, and I love them. I have always loved a good kitchen island, and I love a marble topped one even more. My house didn’t have either at first, but I was lucky enough to find a great used kitchen island at the Habitat Restore. I painted it and showed it some love, and it looked great. However, I wanted it to look a little bit better, so I busted out DIY marble top island project that was easy to do.
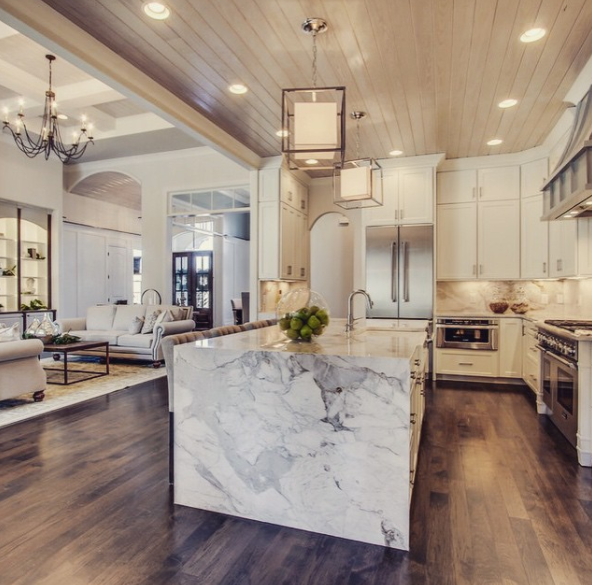
(Source)
Before I get started I just had to share this waterfall marble island I saw on Instagram. You need a pretty amazing home to house the island, but wow, it is fun to see how stunning it looks in this amazing kitchen…… Okay, not let’s get back to reality!
The Before
I always love resharing a before and after so let’s start with how our kitchen looked when we moved in. As I have said before, it was a good kitchen, but it just wasn’t our tastes.
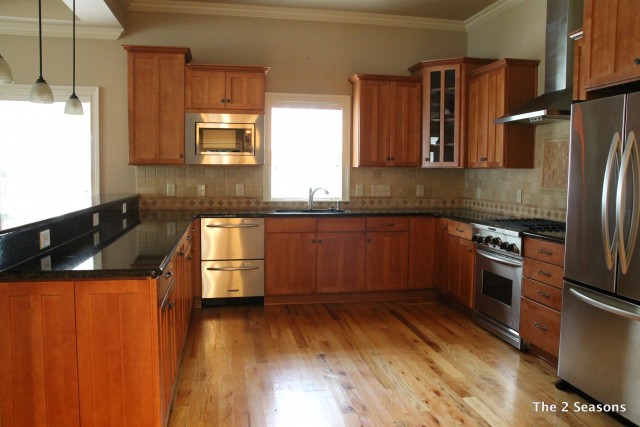
Kitchen Island Between
I really do love our kitchen,and now it feels like our kitchen. After being in the house for a few months I felt the middle section was too empty and needed some kind of island. Fast forward to a temporary fix of a small kitchen table.
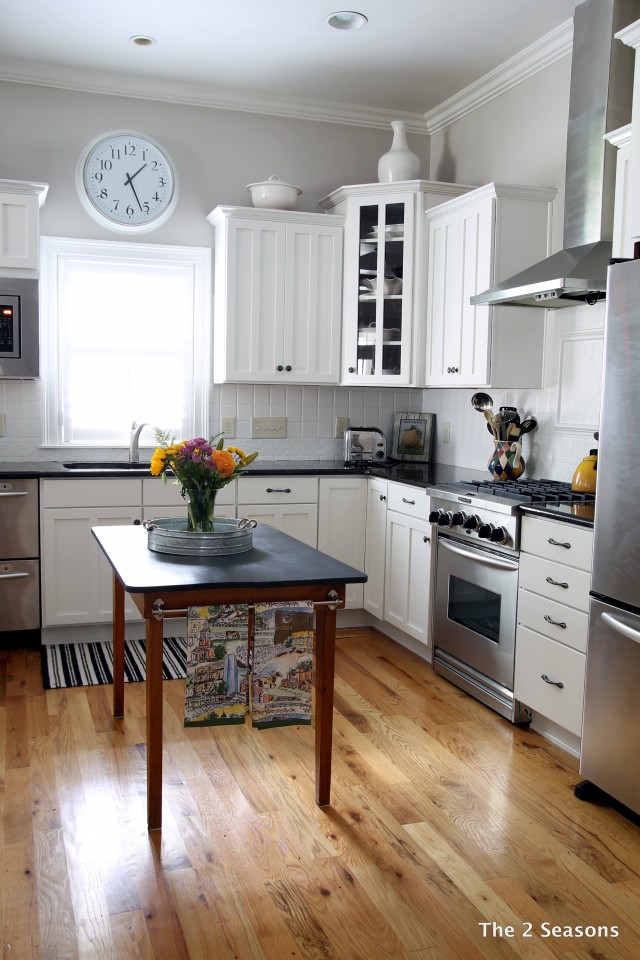
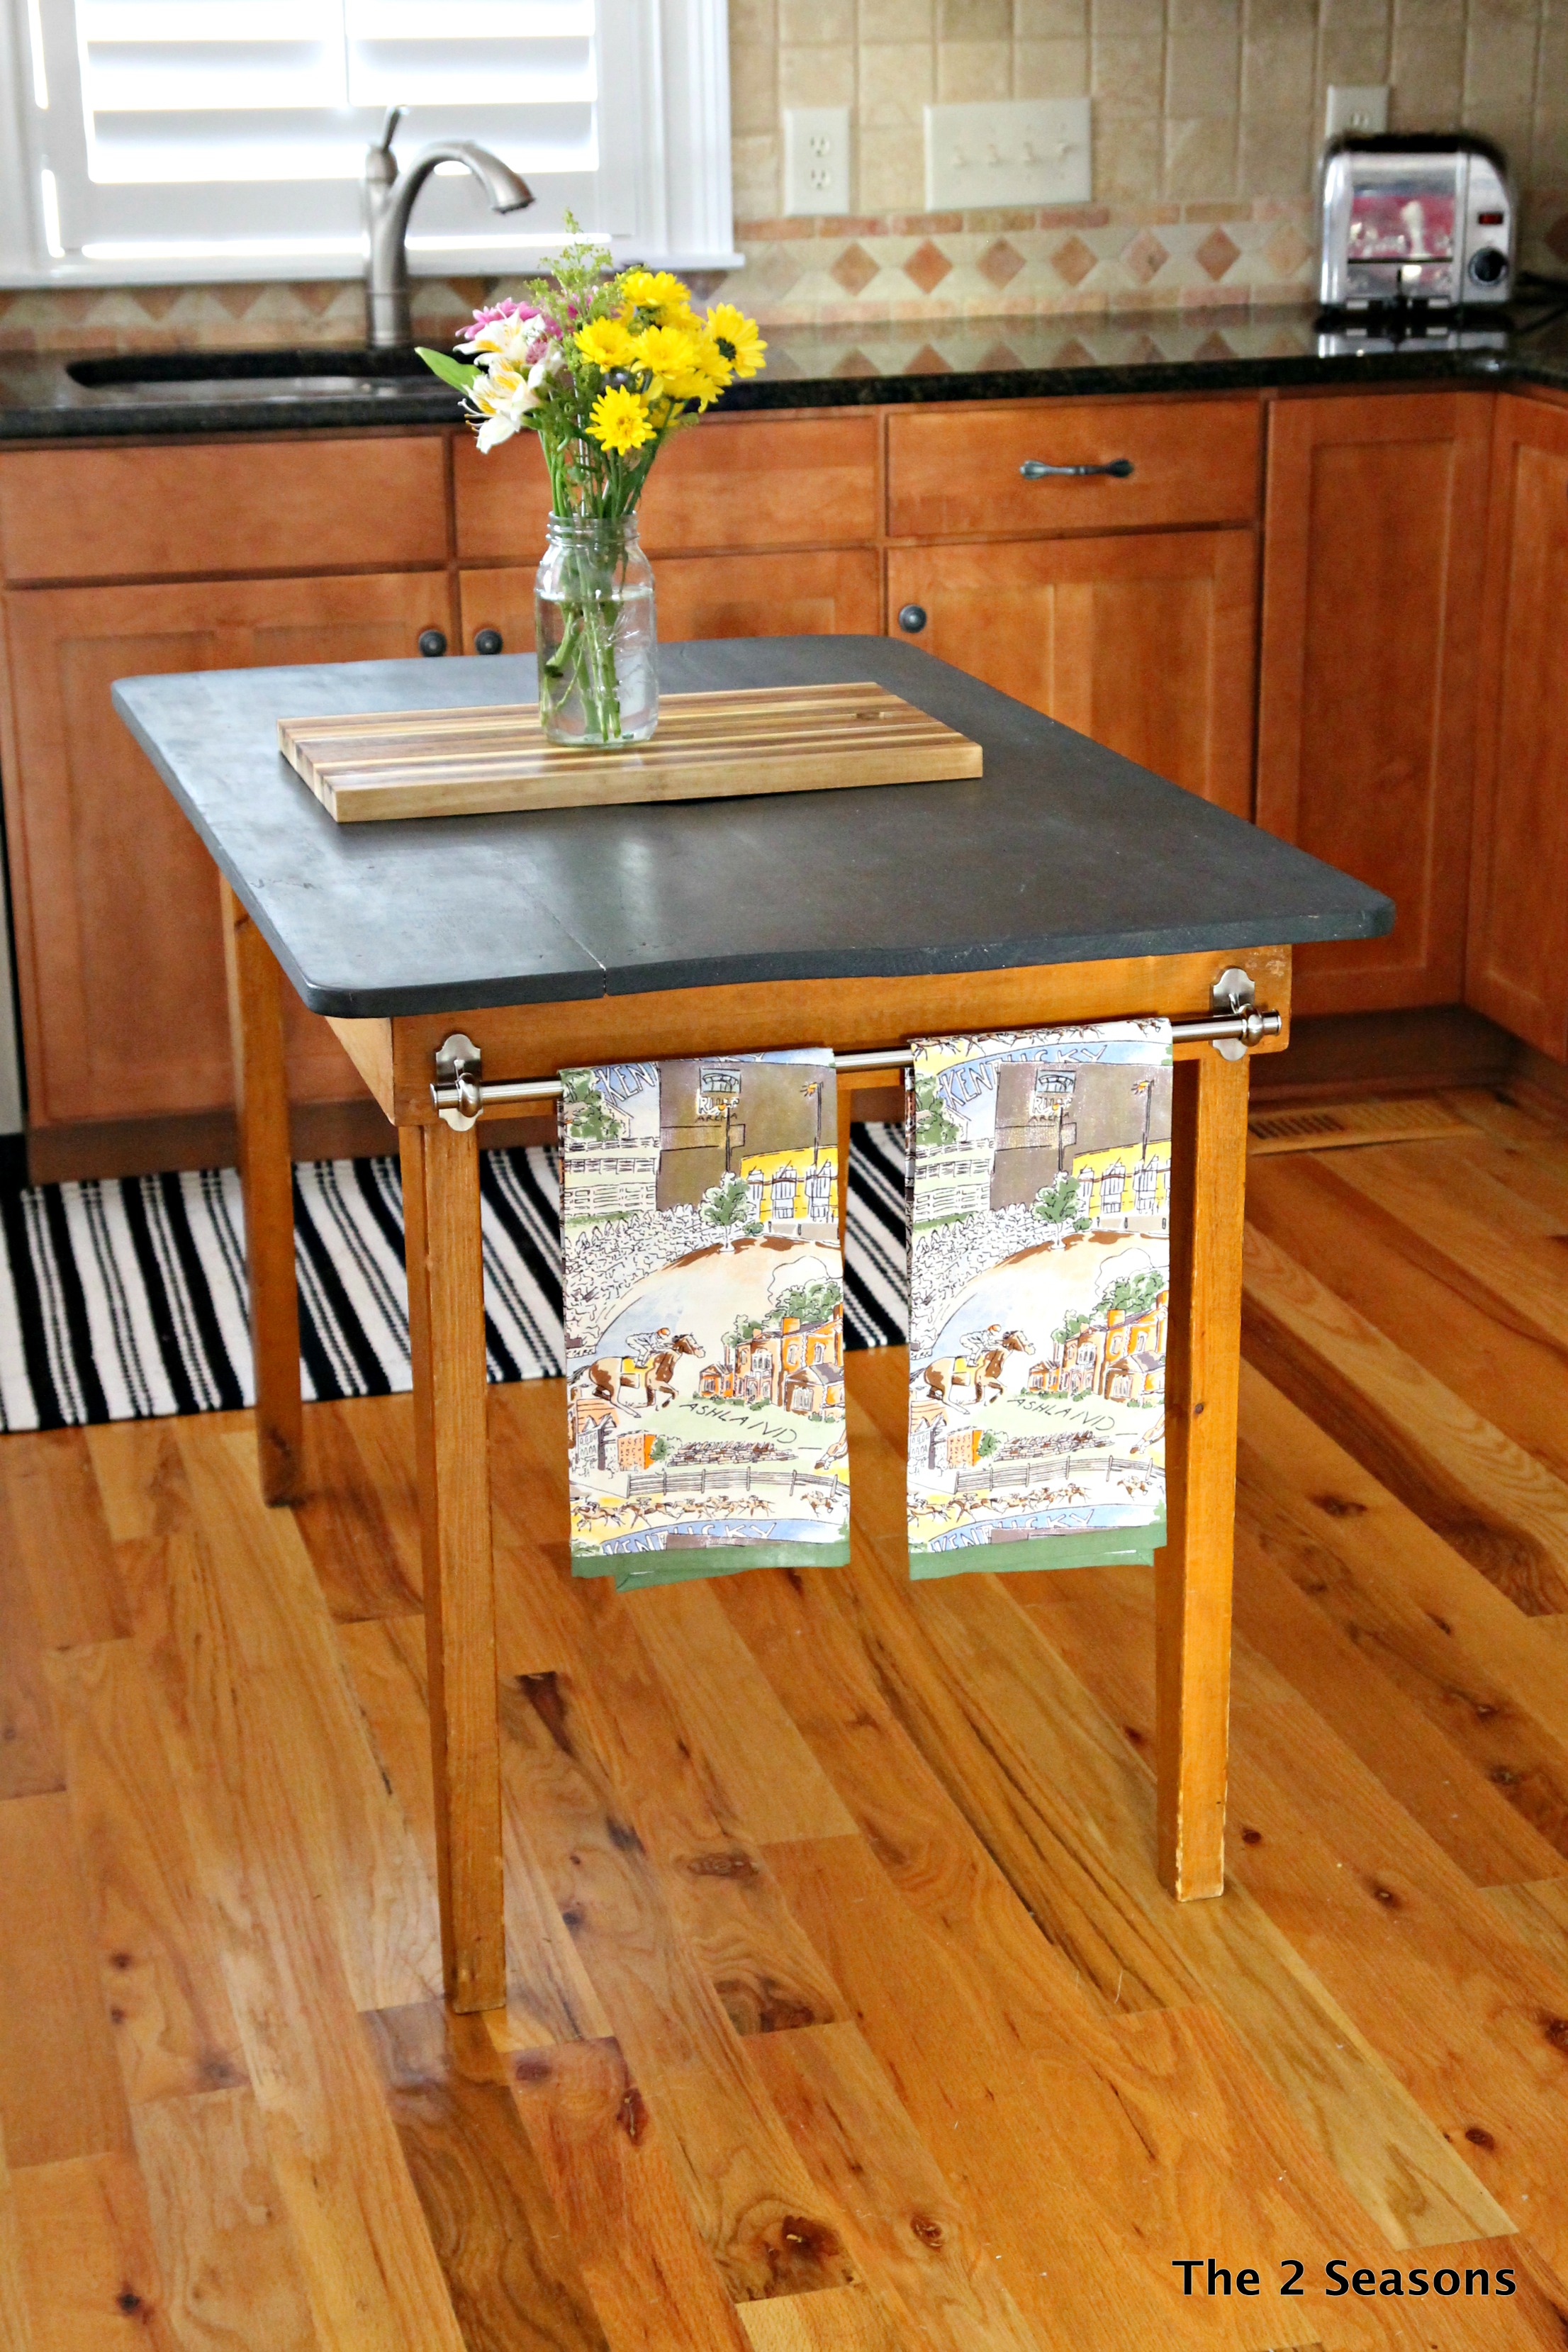
This table, a hand-me-down from my grandmother, did make our kitchen become a true eat-in kitchen at times. When we first brought Little Miss home, we ate here as she made her transition. She cried when I went to the dining room to set the table because I was out of her eyesight so we ate our meals at this table. Meanwhile, I continued to look for an island that was skinny so it would fit into the space properly. There is supposed to be a certain distance between the island and the appliances and counters. One day I just happened to be at the Habitat ReStore at the right time and found a kitchen island that works great!
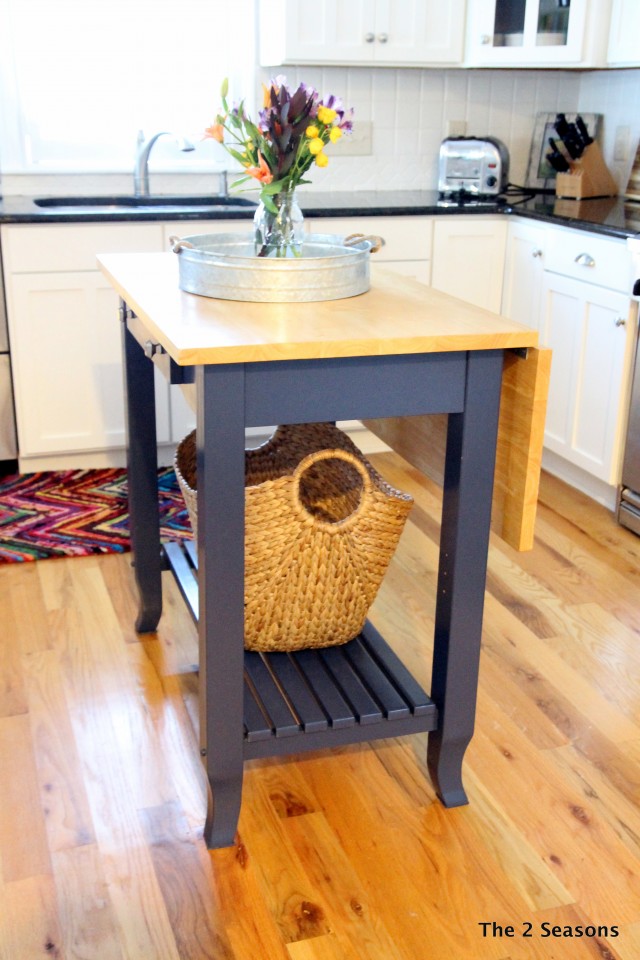
The size is just perfect, and I slide it around if I need to move it. One side has a drop leaf and opens to make it wider. I use it sometimes for food prep. I painted the bottom navy , but the butcher block top had a burn mark that wouldn’t come out. (That’s probably why it was at the Restore.) I covered it usually with a big bowl of fruit or a tray, and the mark was out of sight.
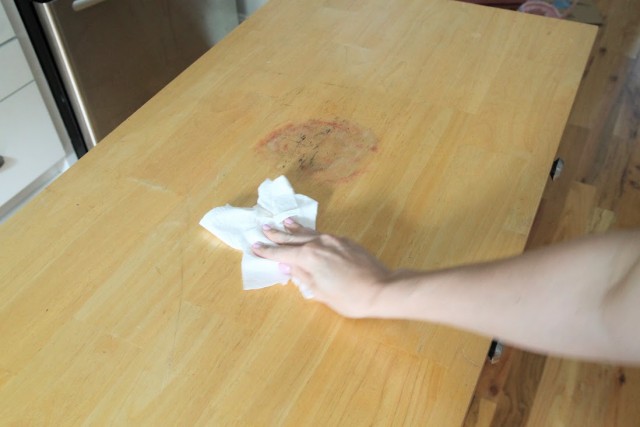
Here you can see the discoloration on the island top. I thought about sanding it all down, but I opted to try something different – marble contact paper. For under $20 I was able to cover this island to have my own “marble top” island. I got the contact paper on Amazon. I was shocked with how many styles and types there were. We first learned about this contact paper in a decorating class. I did some research and ended up getting two rolls of this one, and I am really happy with the quality and look.
The Process
The first thing I did was clean the top to get any dirt and grease off of the kitchen island. I really wanted it to have a clean surface to stick.
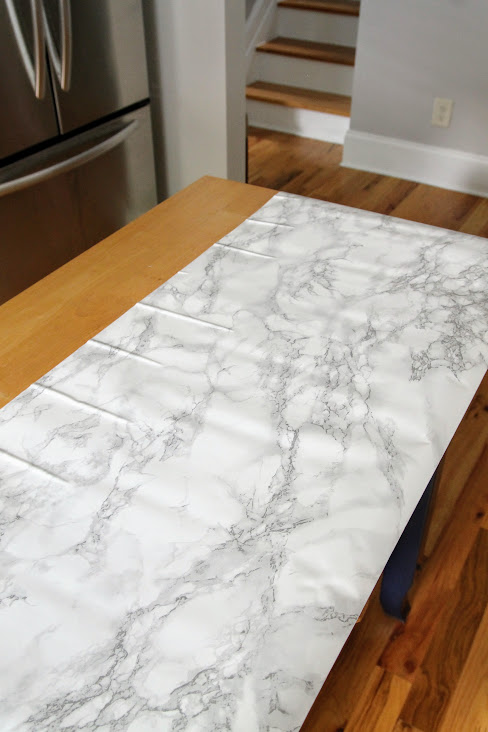
I then placed it on top and cut off the excess on the sides. I left about an inch on each side that needed to fold under the top.
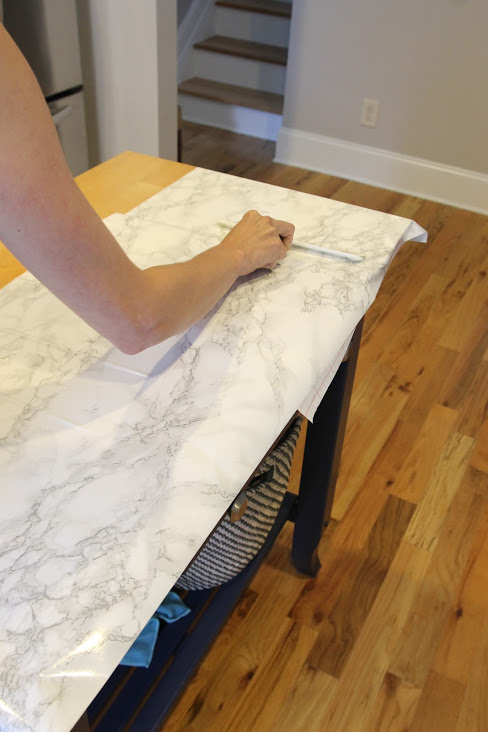
I worked a small section at a time and removed the backing and then used a squeegee to smooth it out and get rid of any bubbles. This piece did not cover the whole island so I cut a piece to do the other side of the top. I lined the two pieces up and did the same process working a small section and then using the squeegee. Unless I am standing right by the island and looking, I do not see or notice the line of the two sections meeting. As for the corners, they were a little tricky, but thanks to an exacto knife, I was able to trim them up.
Kitchen Island After
I am thrilled with how this marble contact paper turned out. It really does look like I had a slab of marble cut for the top of this island. Some of our friends who have come over since I have done the project and have asked if it was marble. As far as its durability goes, I don’t cut on the contact paper. A few weeks into this, it is holding up great and wipes down like a charm.
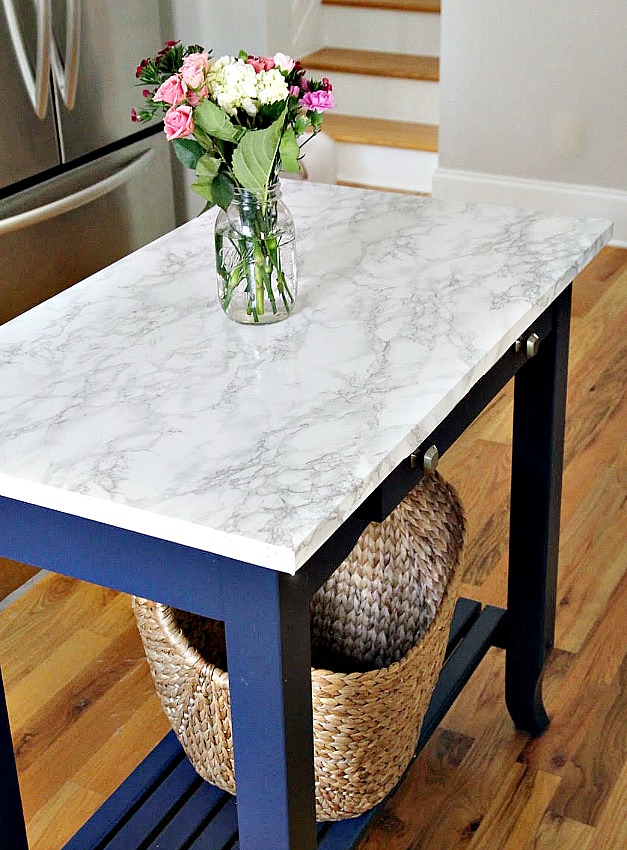
If you don’t have a kitchen island for this project, the marble contact paper would be great for a side table, night stand, or even a coffee table. The possibilities are endless!
Cheers!
Affiliate link used

Jordan – your kitchen looks fabulous and this was a great idea! Thanks for sharing. What a creative solution to get your look. In the future, you also might consider going to the local granite shops processing area they refer to as the “bone yard”. This is where the collection of all types of granite, marble, etc. remnants are located. They are ends and pieces not used in big projects. They sell for a fraction of the cost! This remains a good idea for smaller areas where one would like stone. I like to keep checking because often there are even larger pieces available for cheap. Just a hint for future projects.
Penny,
Oh that is a great idea! I was thinking in the future I could maybe get a smaller piece. I didn’t know about “the bone yard.” Thank you so much for sharing this tip.
Although you show the table with a “flip up” side, that does nit show in the finished project. Did you cover the top as though it was one surface thereby eliminating the “flip down ” option?
Donna,
I did cover the other flip down section. So when it is open it looks like one piece of marble. It is flipped down it shows the marble but I really don’t notice it since that side doesn’t face out to the kitchen and living room.
Donna, I covered the top as one surface and the drop leaf as a separate surface. That way they can operate independently of one another.