Yippee!! It is finally finished. The major back yard facelift that Mr. Spring and I started in March is finally complete. You can read about the start of the facelift here and here. (And you can see what the house looks like with its new paint color here). We have plenty of blisters and aching muscles to prove it. Was it a lot of work? Yes. Did we know what we were doing at first? Thanks to lots of research, yes. Would we do it again? Yes! Are we proud of it and of ourselves? Yes, yes, yes!!!
When we bought our first home, it was important for us to live in an established neighborhood in an urban rather than suburban setting. We knew that we would have to tackle projects, but if it meant we could increase our home’s value by applying some muscle, then we were all for it. Our little charmer had all of the major updates completed, thankfully, so that we can just add our tastes through cosmetic overhauls. That’s what this project was all about.
In a nutshell, we removed all of the previous owners’ gravel, rocks, decking and patio in order to build our own new and larger patio and lay sod. He didn’t have a lawn – at all. He didn’t want any maintenance – at all. We wanted grass for Gracie, and since my husband grew up in an apartment in New York City, it was only right that he should have the opportunity in his life to do mowing and lawn maintenance.
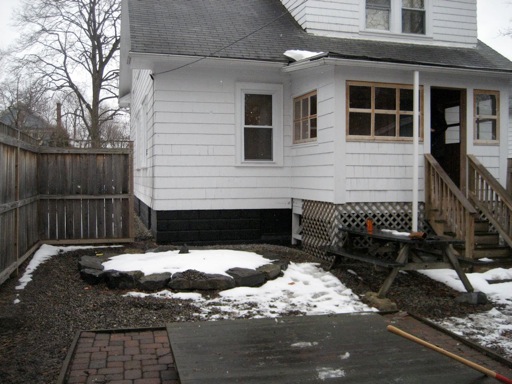
Because our winter in Syracuse was sooooooo long last year, we didn’t want to wait for the snow to melt to get started. The first thing we did was to remove all of the previous owner’s DIY projects. Based on all of the rocks, bricks, gravel and wood we hauled out, he probably had some sore muscles and blisters once upon a time, too.
Thanks to Mr. Spring’s research and calculations, we knew exactly how much materials we would need for our project.
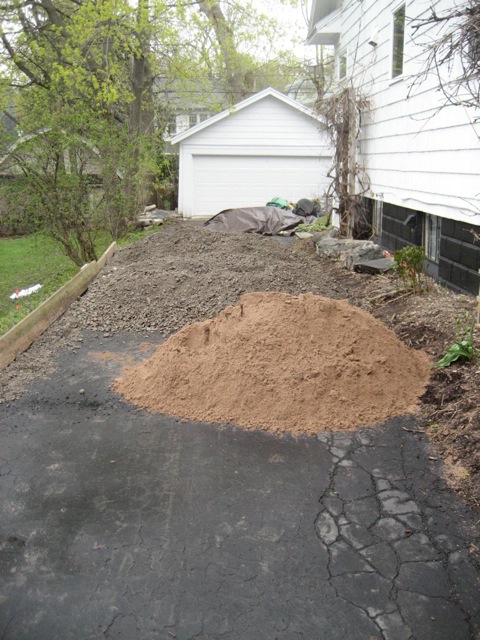
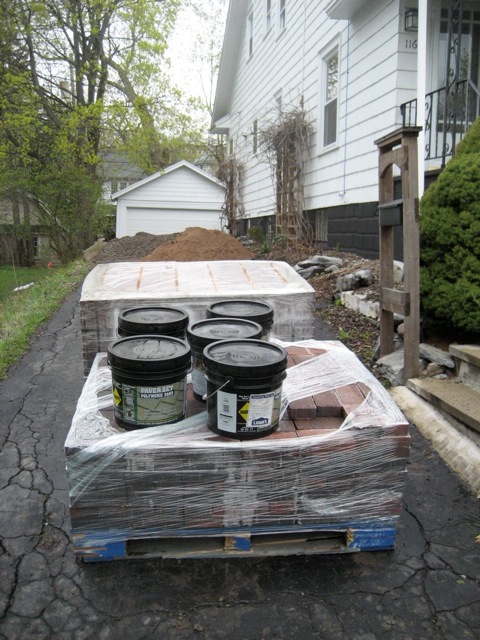
We had to give up the use of our garage and driveway for a while, but it was worth it in order to stock pile our sand, top soil, and paving bricks.
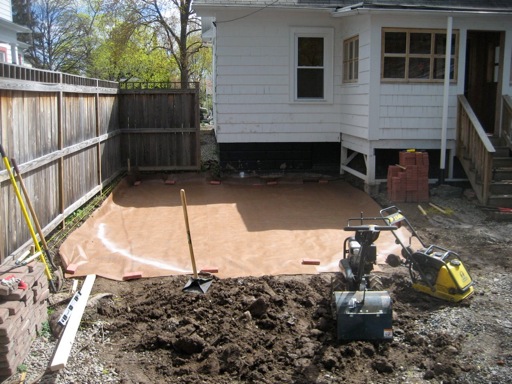
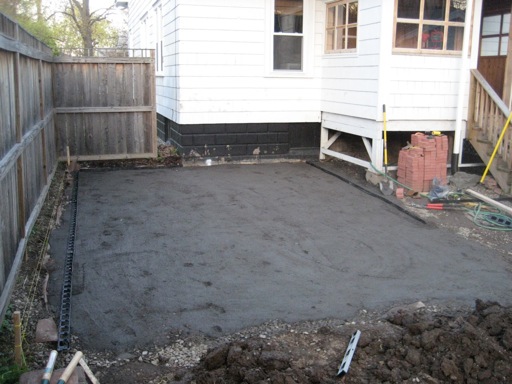
After all of the things we didn’t want were removed, we carefully laid out the patio’s dimensions and then added sand and runner crush to provide a solid foundation.
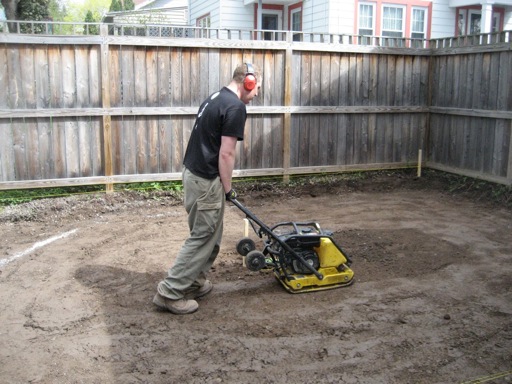
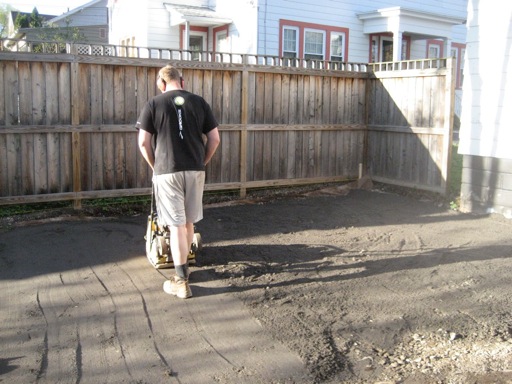
We rented a machine to help pack it down. That was so worth it.
Next came the barrier and then….
more packing down the ground.
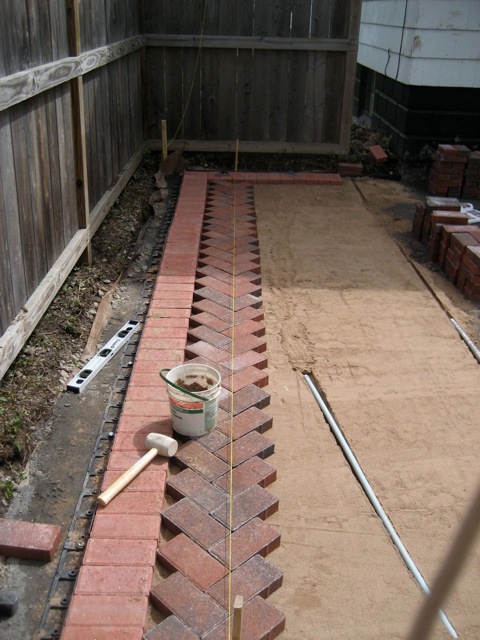
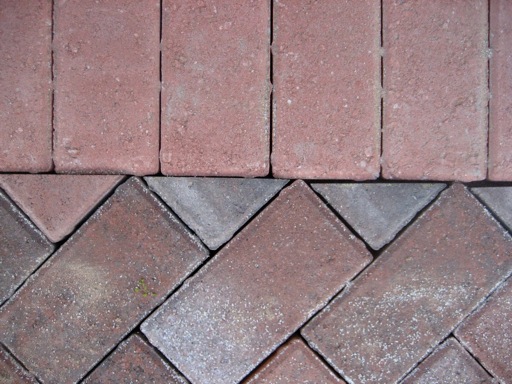
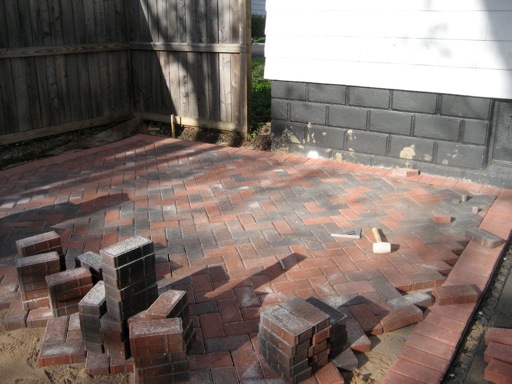
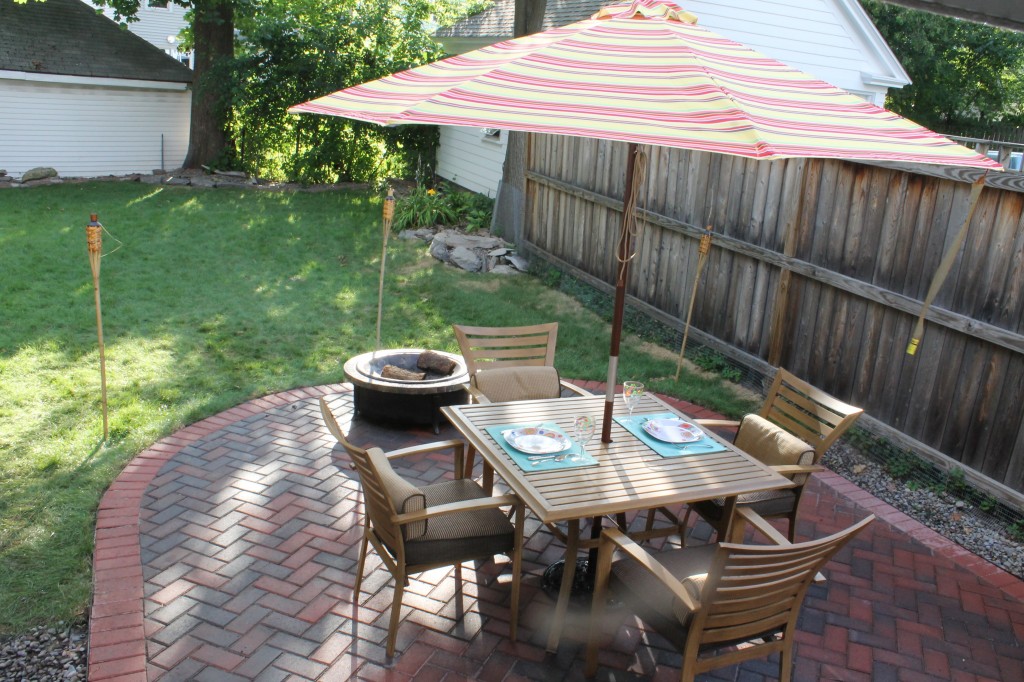
We selected a herringbone pattern for the brick layout. It required lots of careful measuring and cutting.
It was also very important to keep the surface level.
Doesn’t it look professional? Not bad for two newlyweds learning as we go. When it was finished, we added a type of sand in the cracks that will firm and hold the bricks together when water is added.
I enjoyed cutting the bricks, while Mr. Spring was putting down the main pattern of the patio.
We worked after the sun went down many evenings, but we just couldn’t wait to get the majority of it finished.
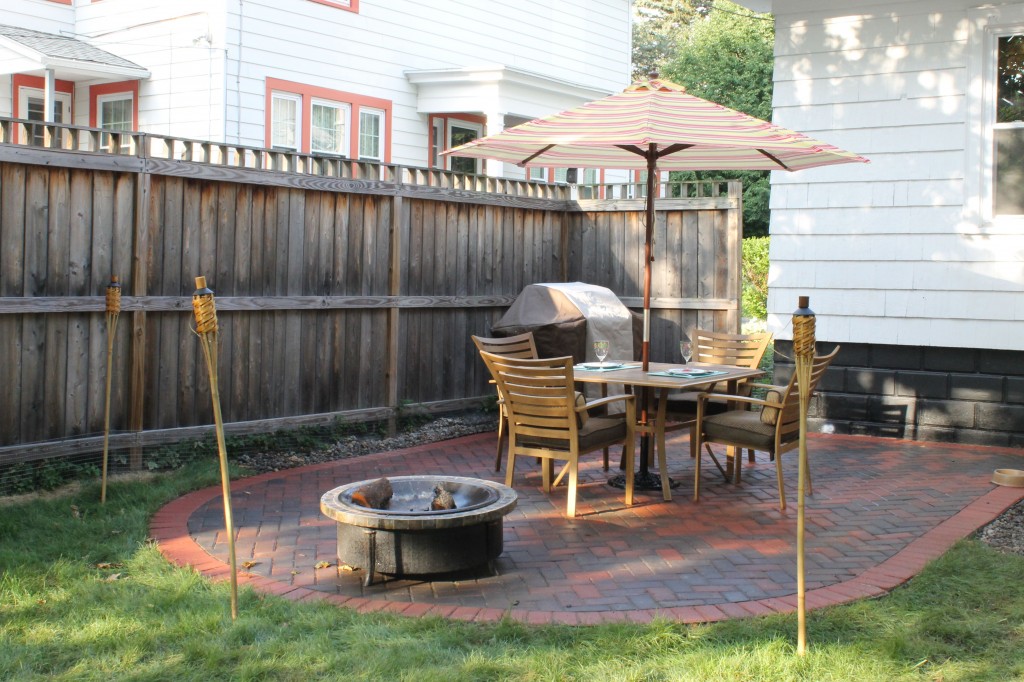
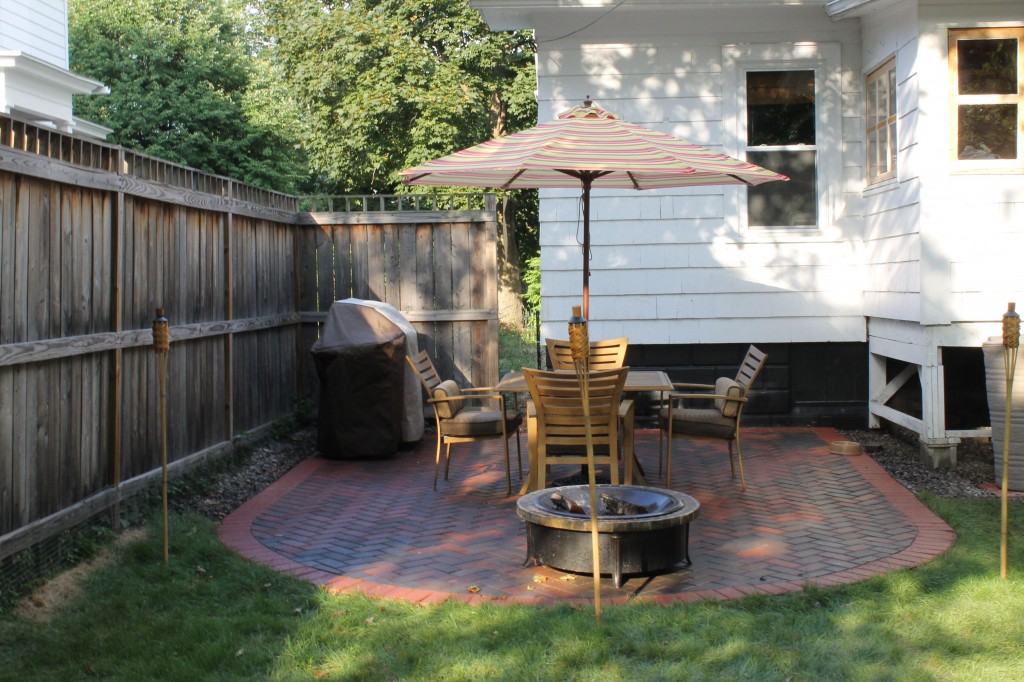
Shortly after we finished the patio, we laid the sod, bought a new outdoor table and chairs, a fire pit, and of course, tiki torches.
We L.O.V.E. it. We use it when we sit out with the neighbors…..






This was such a great transformation! It looks so pretty and I know you will have many more hours of enjoyment on it this coming year!